|
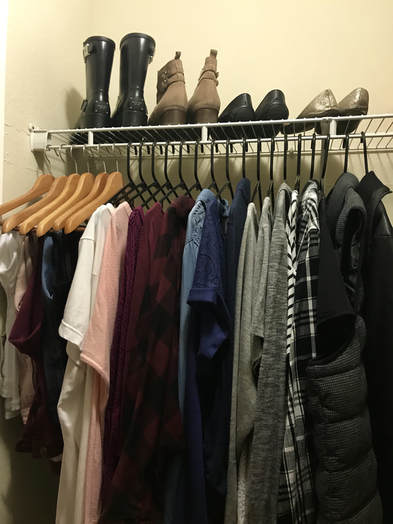
It seems like the latest trend I've been seeing on Pinterest is capsule wardrobes. If you haven't heard of them, they are basically a small collection of clothes that can all be mixed and matched so you have lots of different options to choose from without having an overflowing closet. I've been hearing about capsule wardrobes for at least a year and I always thought it was a neat idea. Who wouldn't want more outfit options with less clothes? And why wouldn't I want every piece of clothing in my closet to fit me well and make me feel good when wearing it? Like I mentioned in my last post, a few weeks ago I decided to give this idea a try. Before I started, I went through my closet and counted how many pieces I had hanging up. There were 114 hanging items in my closet!! This blew me away because the majority of the clothes hadn't been worn in 6 months or even longer. So why was I wasting all this closet space with clothes that I wasn't even wearing? By the time I was done weeding out the unnecessary clothes, I had a much sleeker looking closet with a grand total of 27 items (including pants & shoes). It was a huge sigh of relief! Every time I open my closet I can clearly see every piece of clothing to choose from. I know that everything fits me and that I have many different combinations to choose from for my outfit that day. If you'd like to give this a try in your own closet, keep reading to get the step-by-step process for creating your own capsule wardrobe.
0 Comments
It's amazing how quickly things can change, isn't it? Sometimes it almost happens without us even realizing a change has occurred. And other times the change is so significant that you can't remember what life felt like before it happened. I've definitely experienced my fair share of change, especially in the last year. In December the company I had been at for almost six years announced that they had been acquired and we would be moving over to a competitor. It was completely unexpected and at first a little scary, but in the long run it has turned out to be a good change. Now I love the company I work for and appreciate how much they invest in each employee's growth and development, much more so than my last company. I feel like I've also changed my mind a lot in the past year. One day I'm completely certain I know what I want to do with my life and then the next moment I'm questioning everything and letting go of something that recently felt so certain. The biggest thing I can think of is my decision to move to California. Once I decided that's what I wanted to do, I was hard set on making it happen. I even flew to San Diego with a friend and went apartment hunting! Now, I realize that moving to California was my attempt at making change happen in my life for the wrong reason. I was trying to change the outside of my life instead of looking inward and changing on the inside. Ultimately, I would still love to move to California sometime in the future, but I just don't think now is the right time for me to make that change. I guess that's a lesson you have to learn the hard way; figuring out that something you think you want isn't the right thing at that moment. So although I am not pursuing a move to California anytime soon, I am working on some other changes that I think will really make me a better, happier person. Self-improvement has been on my mind a lot lately and is actually one of the main reasons why I started the Something for Yourself series. I had been spending a lot of time working on improving myself and wanted to share what I had learned. I would like to let you follow along as I continue on my journey towards being a happier, healthier person. So, stay tuned for more Something for Yourself posts and a bunch of other content I've got in the works for you. And now, let's get into the main purpose of this post. We've already talked about setting a morning routine and a night routine for yourself, but we haven't focused on a daytime routine. This is something that may seem obvious and somewhat unnecessary, but since creating my own daytime routine I have felt much more focused and centered. It's nice to feel like you have a set plan for the day, especially when you work from home like I do and need some extra structure to your day. Here's the routine I set for myself a few weeks ago, including my morning and night routine: 7:00am
7:30am
9:00am
12:30pm
1:00pm
5:30pm
7:00pm
9:00pm
It may seem silly to put some things on the list, like putting on pajamas or actually sleeping, but for me it's just nice to see everything laid out and to have placeholder for each part of my day. There are some things on my list that I've intentionally included in order to spend time on them and not forget about doing them. Some of these are things like writing in my gratitude journal, bible study, or eating without watching TV. These are things that I used to only do if and when I remembered to do them, so now I've got a nice reminder to make sure I make them a priority in my day. So that was a look at what my daily routine looks like. Again, you may not need to write down certain things that you're already going to remember to do each day, but it might be a nice place to start by just writing down everything you do and then adding in those bonus items that you sometimes forget to do.
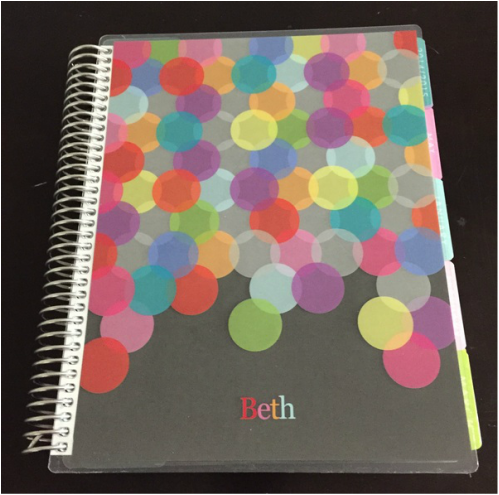
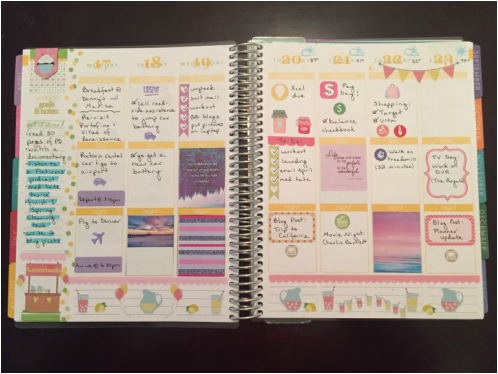
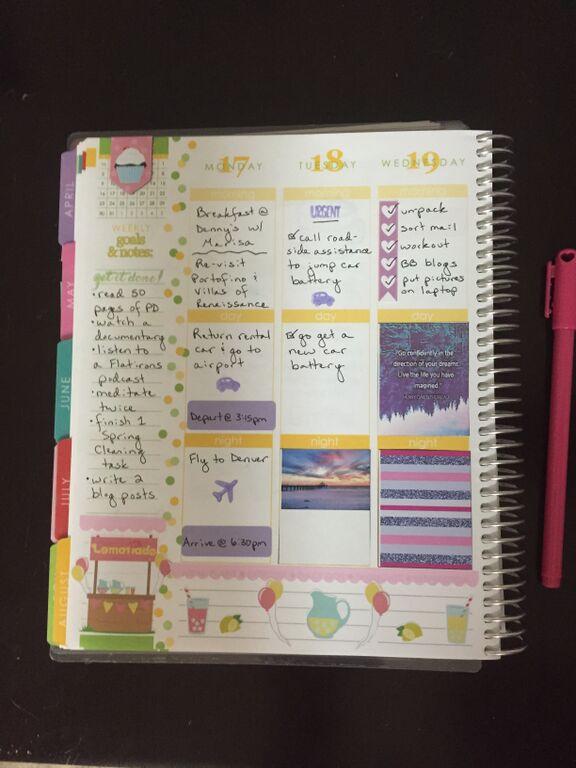
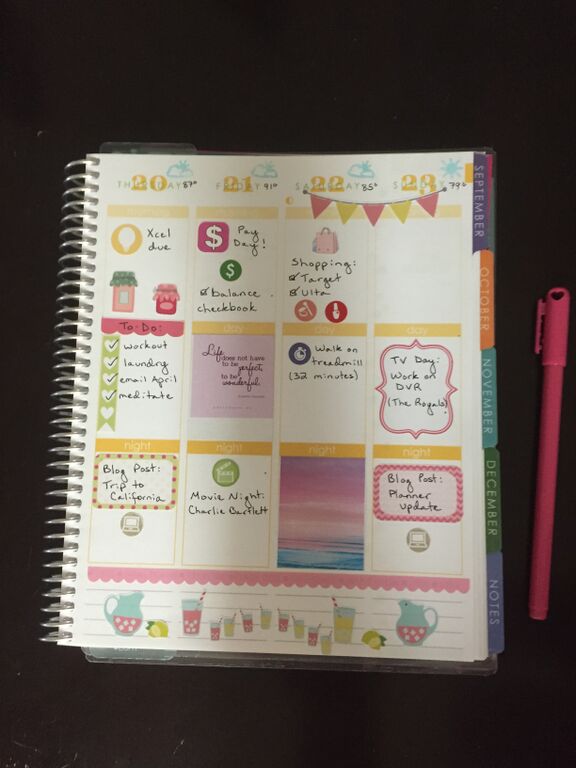
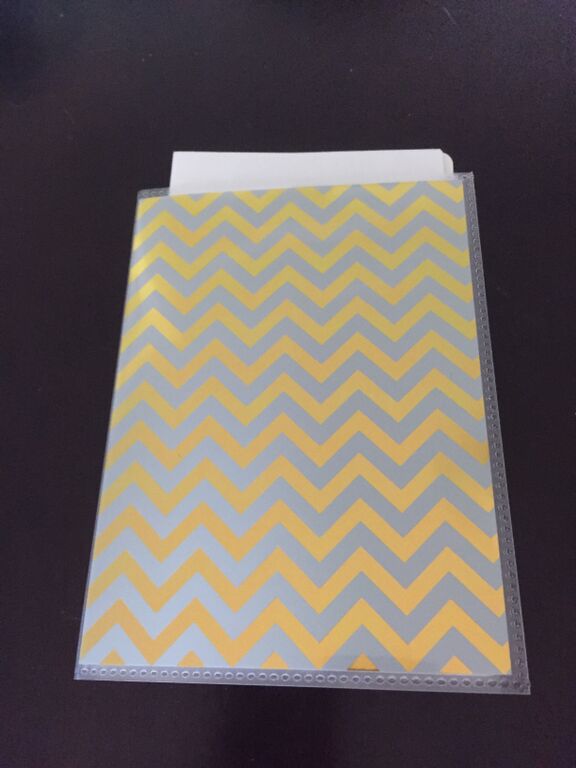
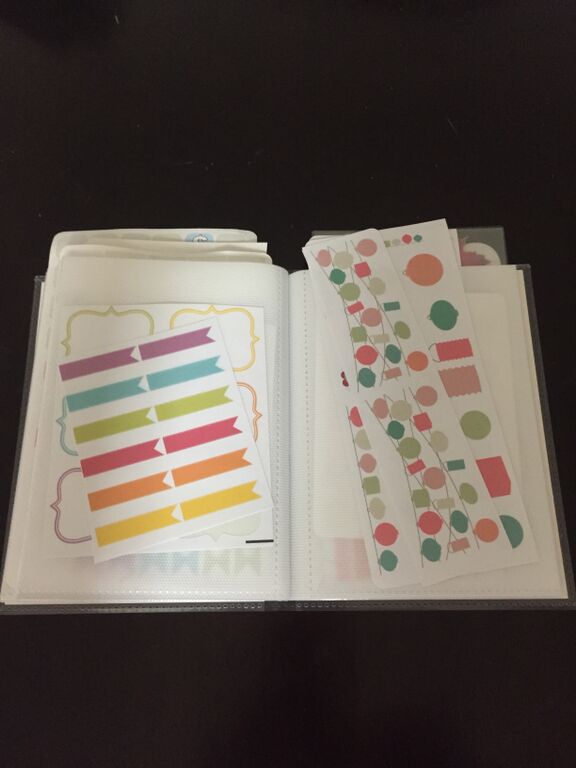
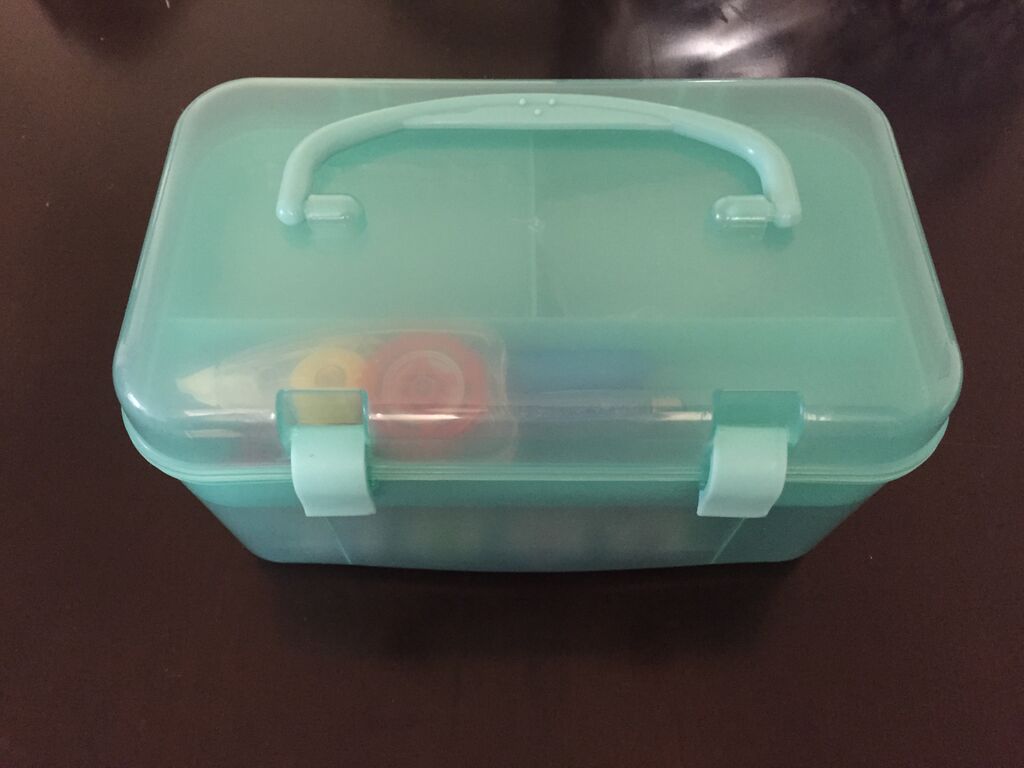
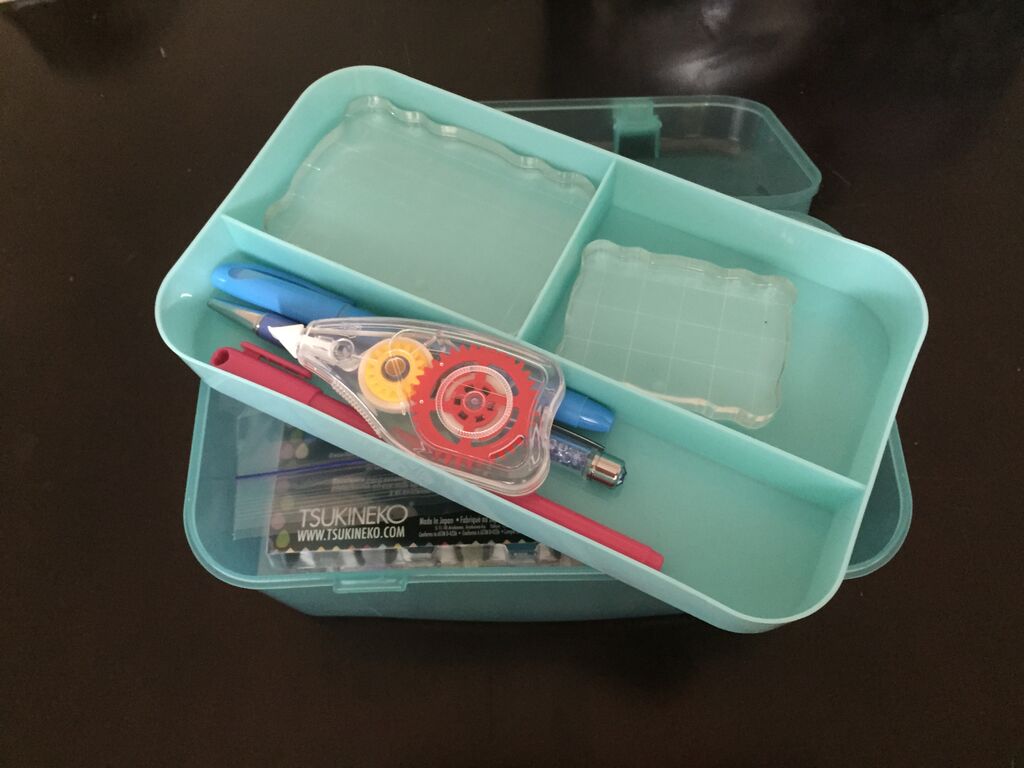
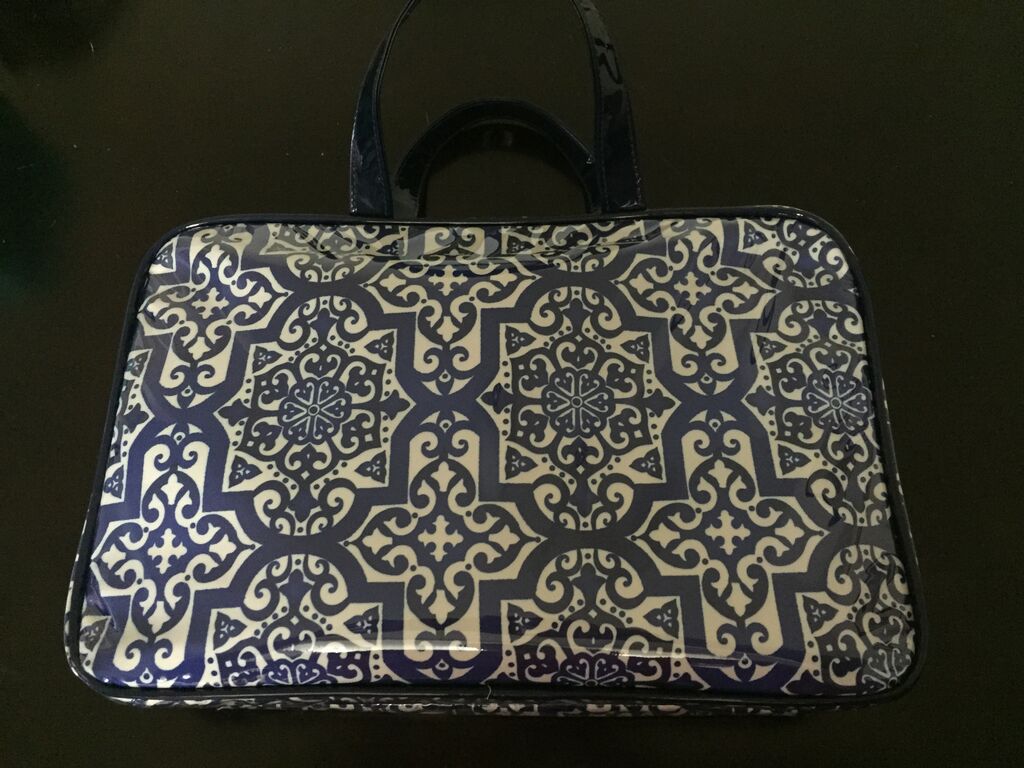
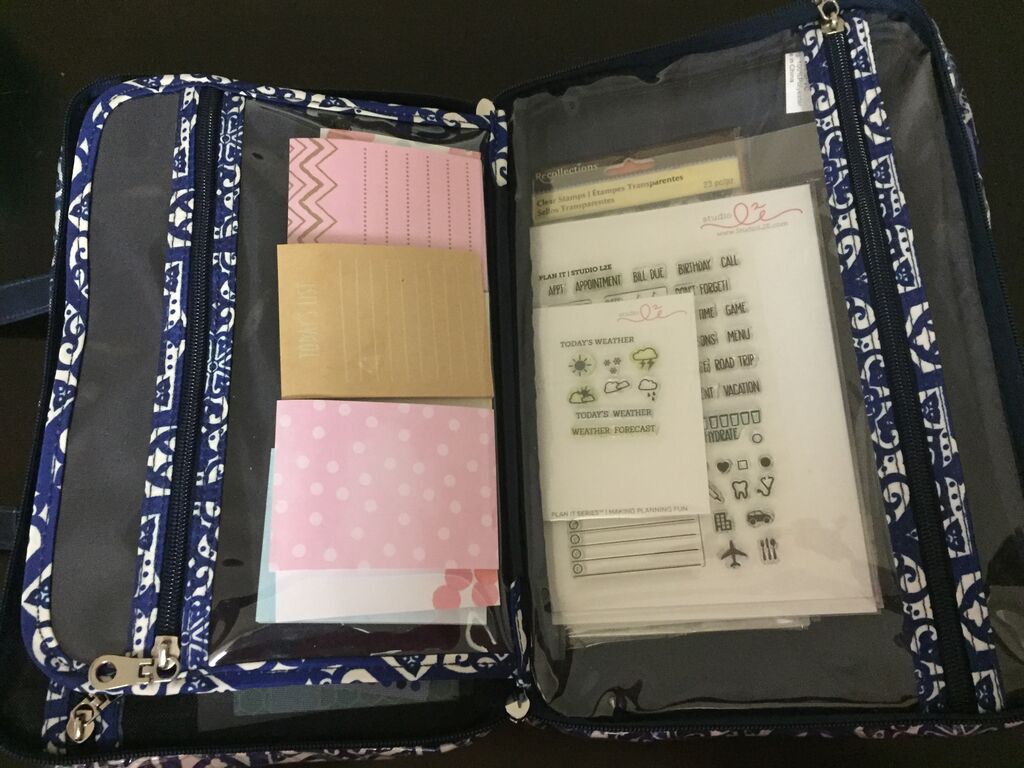
I hope this was helpful. Let me know in the comments if you have any questions on easy ways to structure your day. I got my first Erin Condren planner at the end of April and wrote about it in this blog post. I have been using my planner every day since then and decided to show you what this week's spread looked like now that it's done. I'm also going to show you some storage ideas and talk about the Etsy shops I use for my stickers. First, let's look at the pages for this week: And next, here are my storage ideas for your planner supplies:
At first I was just writing in my planner but soon decided that I wanted to make things more colorful by using stickers. My inspiration was one of the "Plan With Me" videos that Elle Fowler does on YouTube. You should check out her videos for ideas and for coupon codes to the Etsy stores I'll mention below. Here are the Etsy stores I have purchased stickers from so far:
All of the stickers I've gotten from these shops have been a really good quality. Just be aware that most of these stores have a 1-2 week shipment window (and sometimes as much as 3 weeks), so don't get frustrated if your stickers don't come as quickly as you might hope. I've also learned to make my own stickers that are full boxes, like the two you can see on Wednesday. I'll write up the instructions and post them in my next planner update post. It's really easy and very affordable! I'll also talk about stamping in my next post. I hope you enjoyed getting a look at this week's pages and seeing my storage ideas. If there is anything else planner related that you would like to see, please let me know in the comments below!
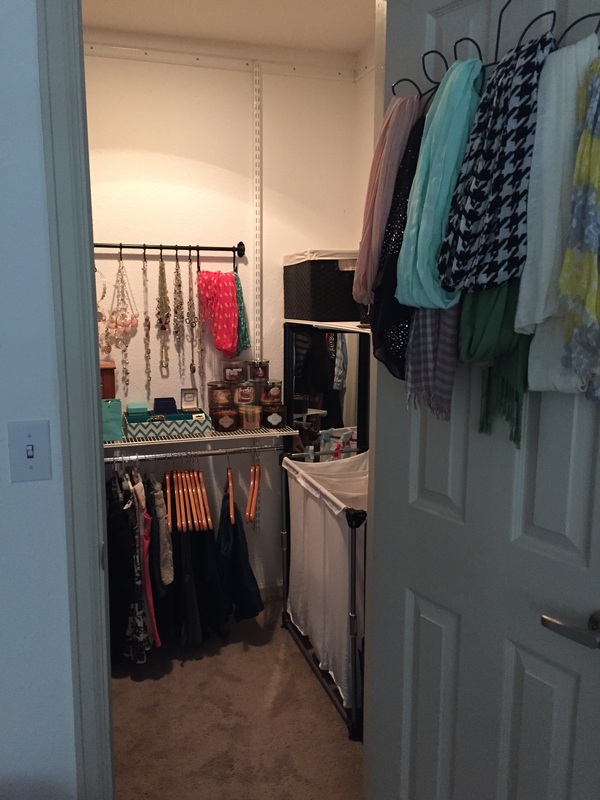
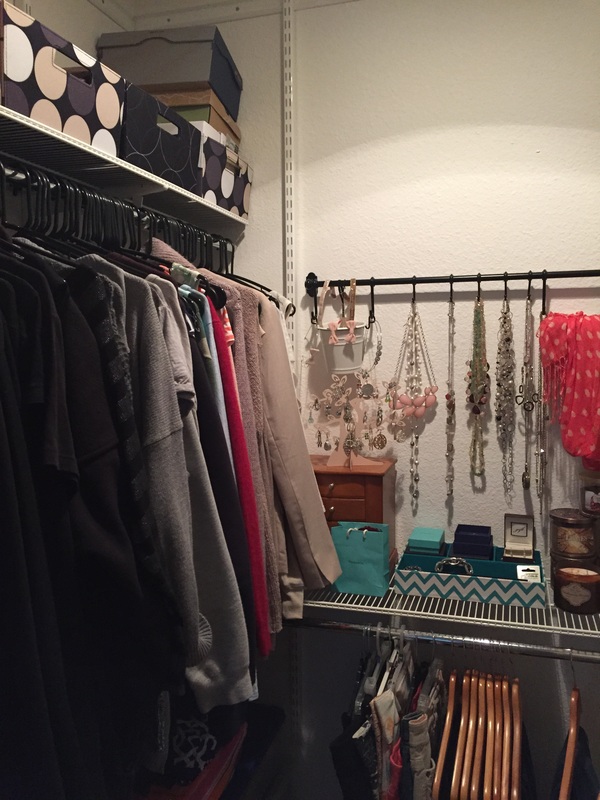
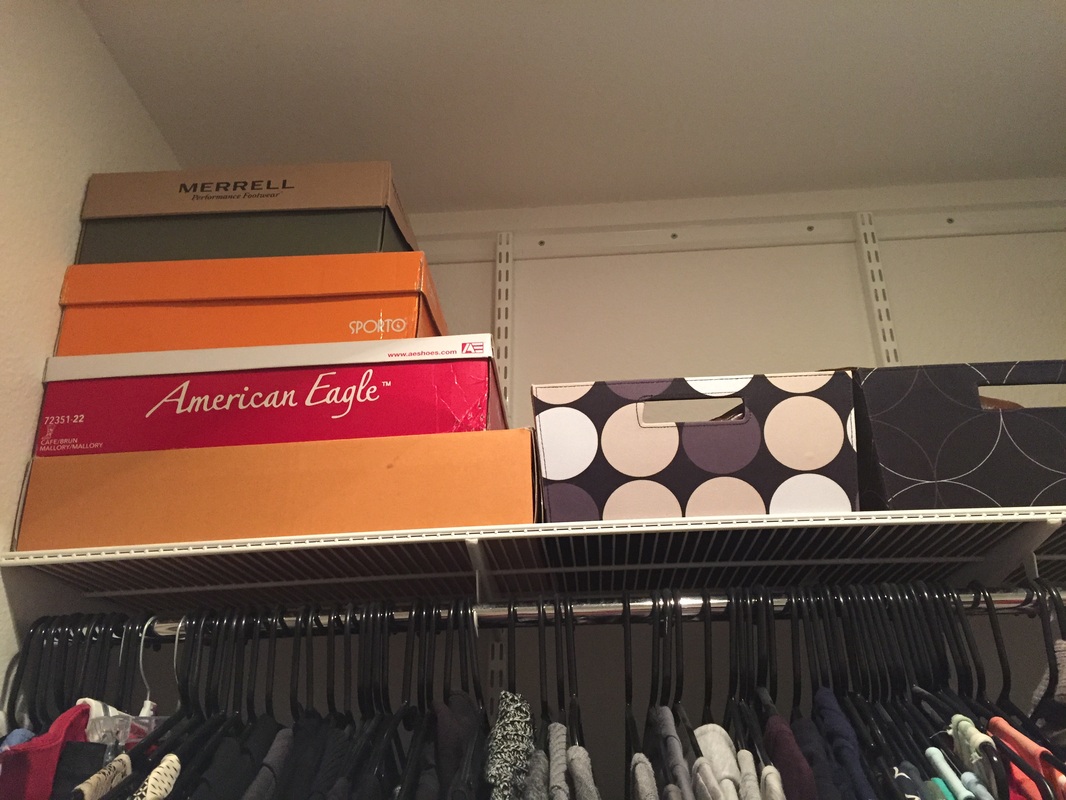
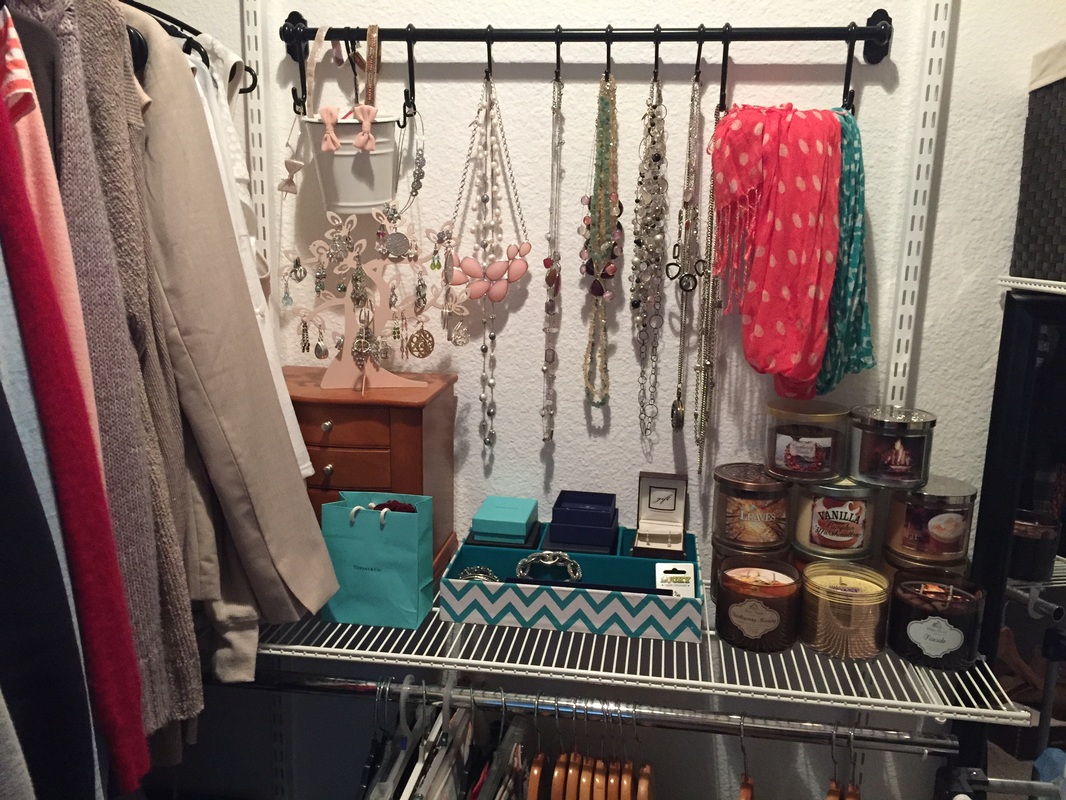
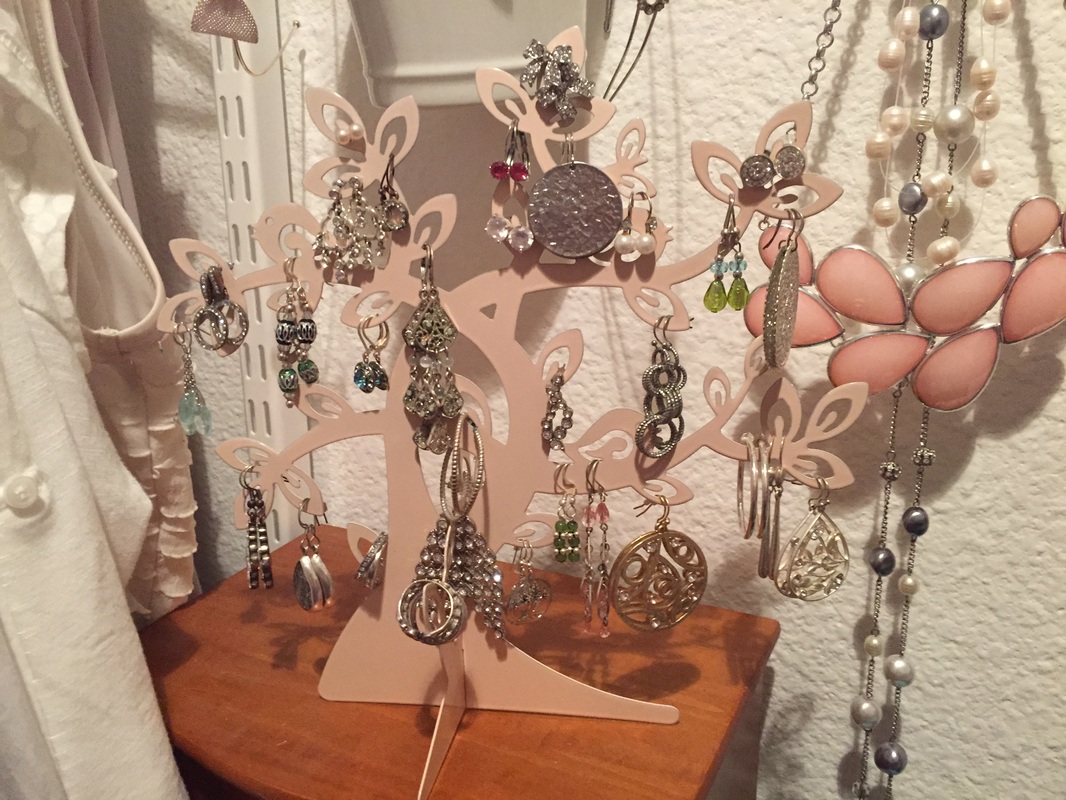
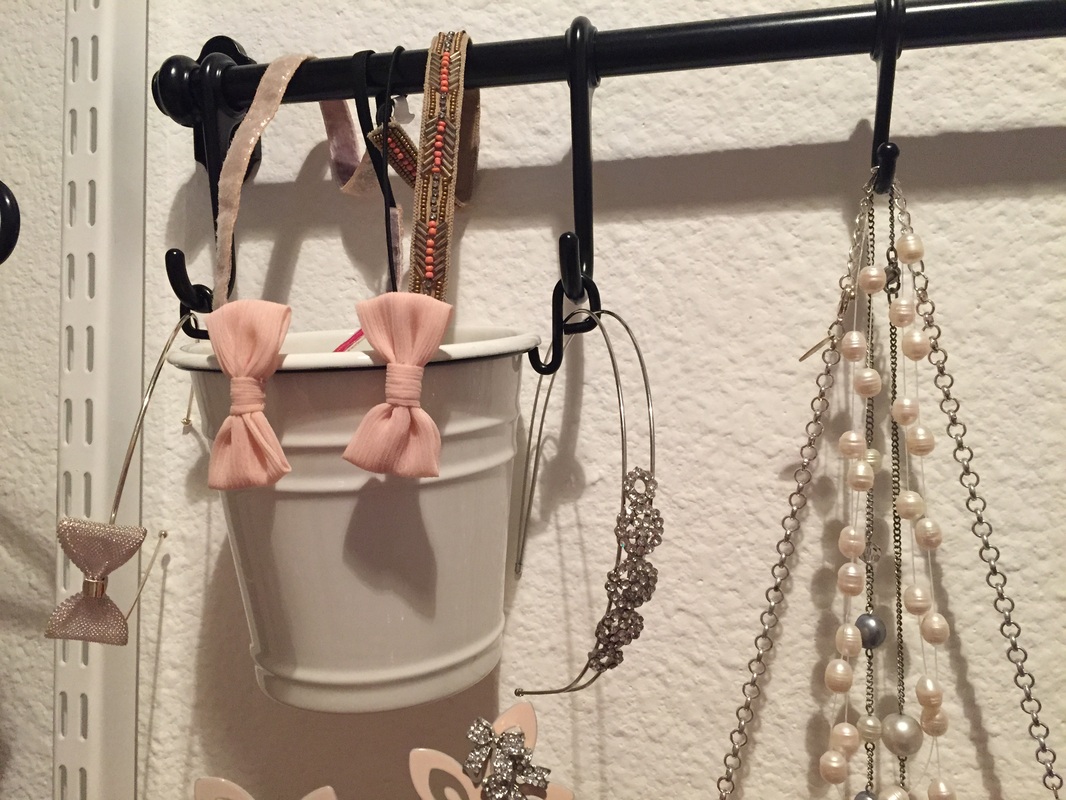
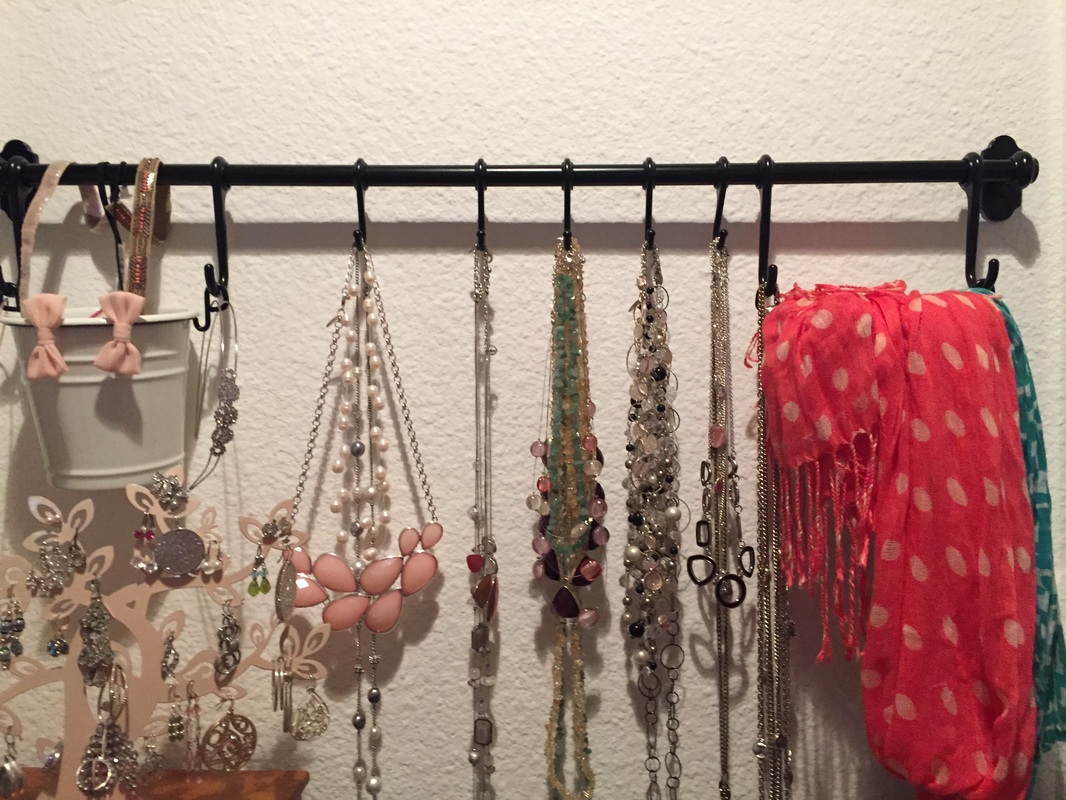
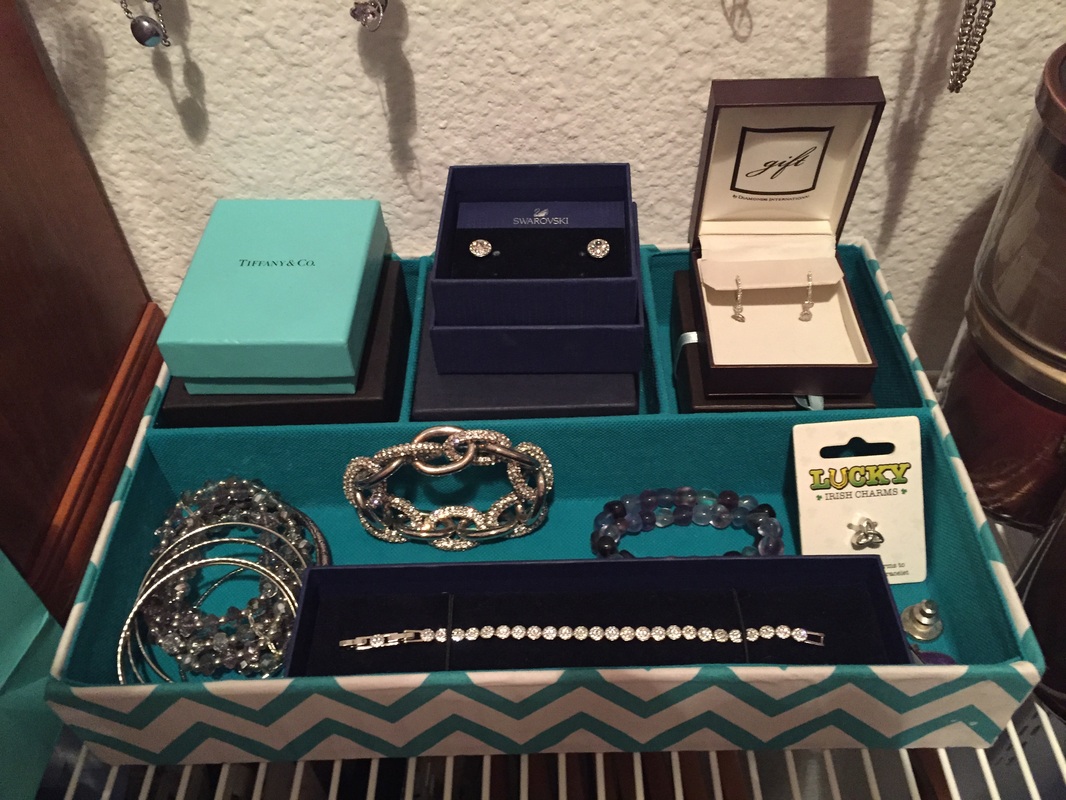
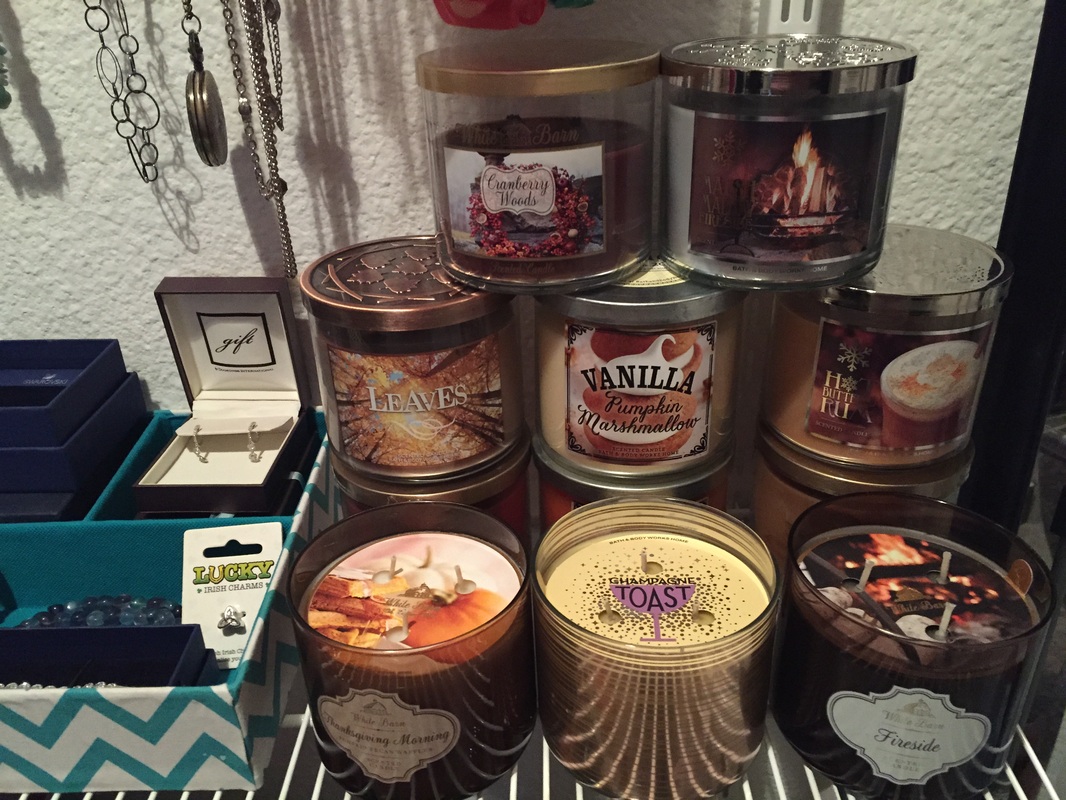
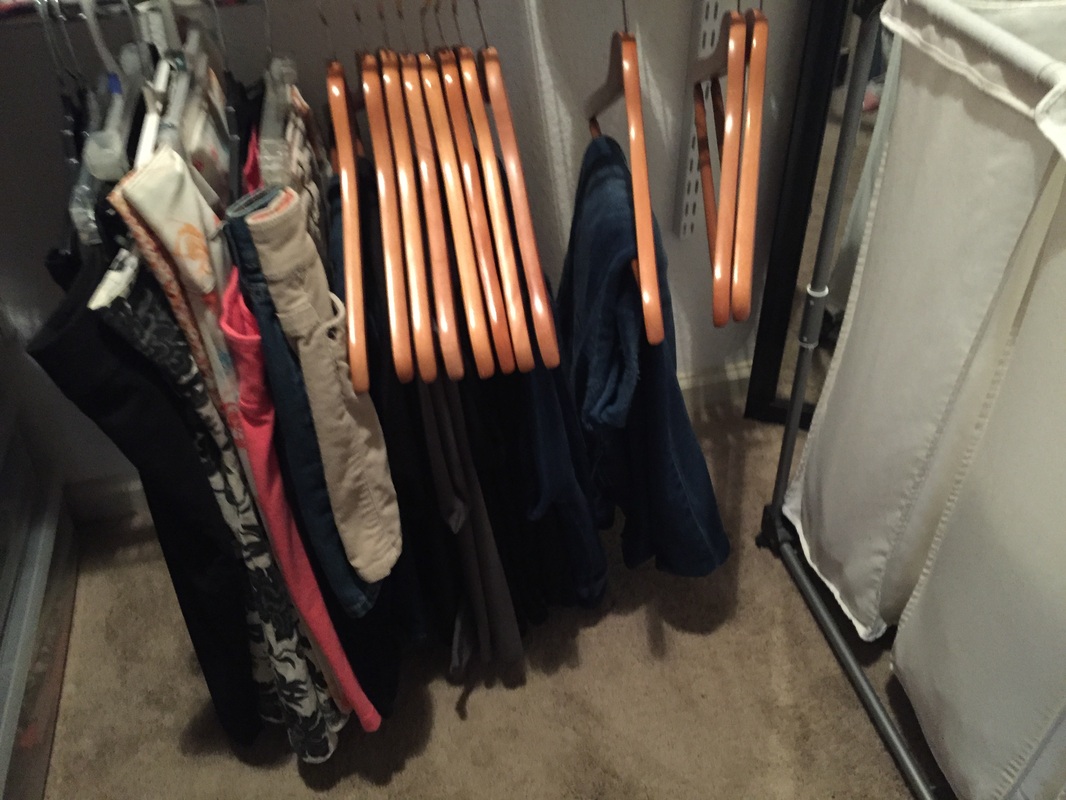
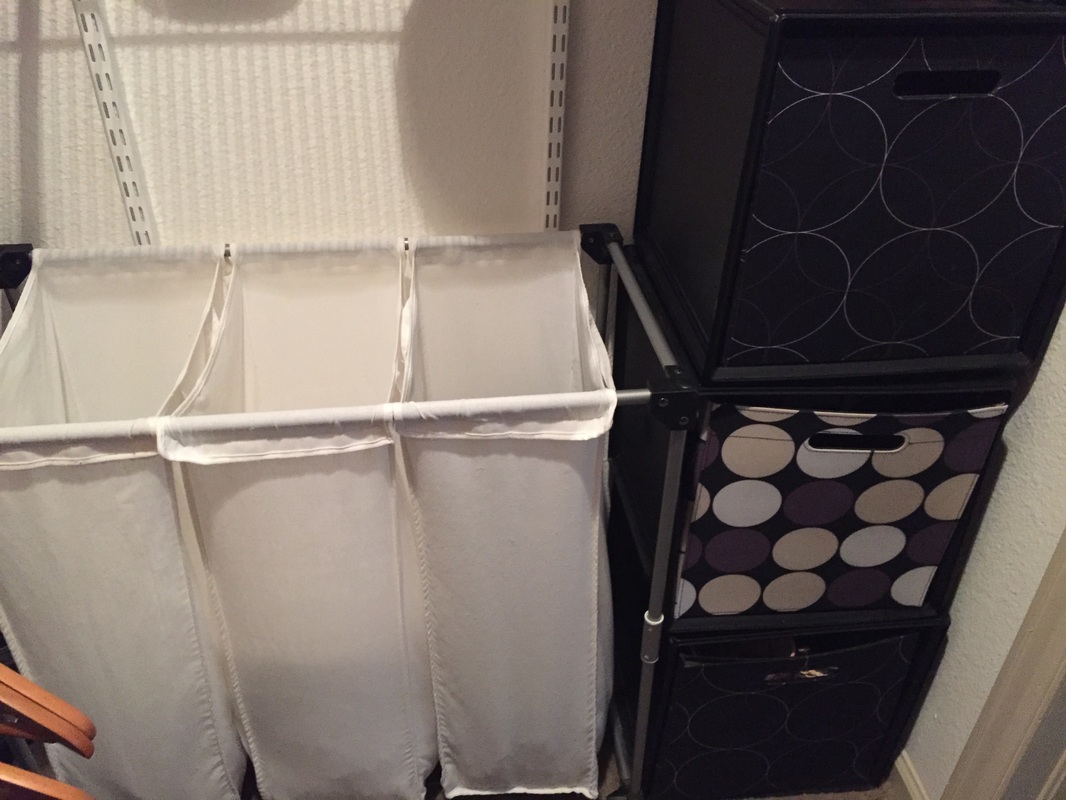
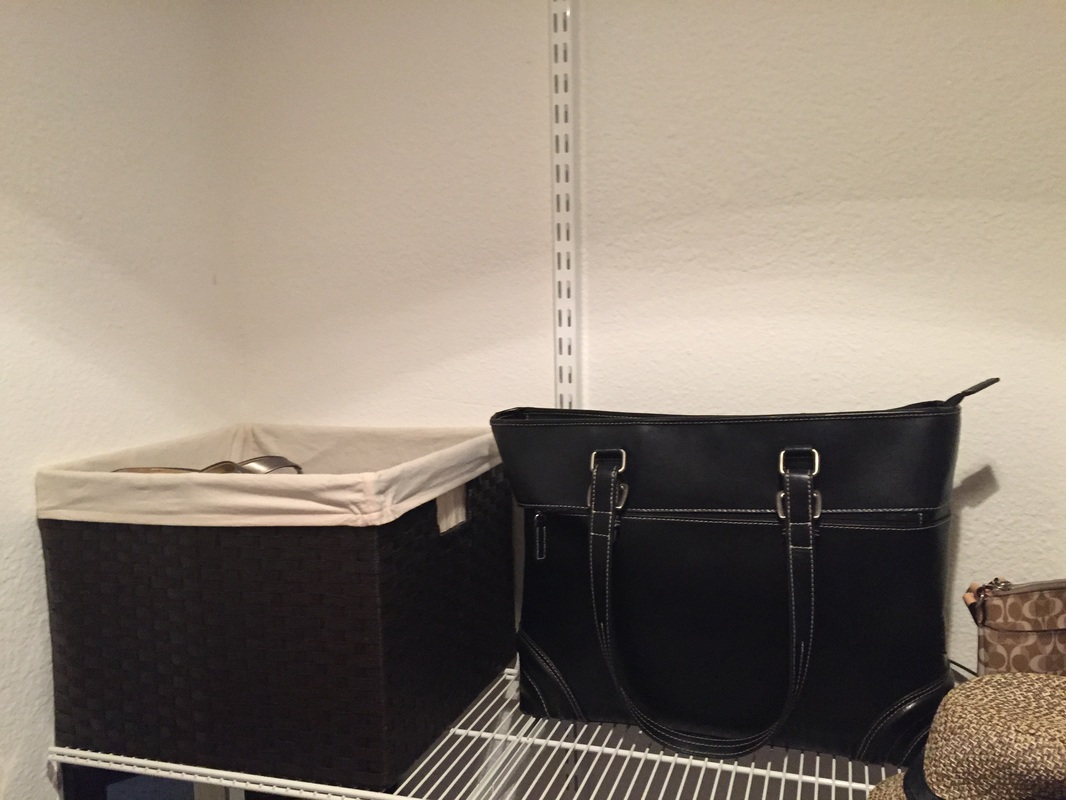
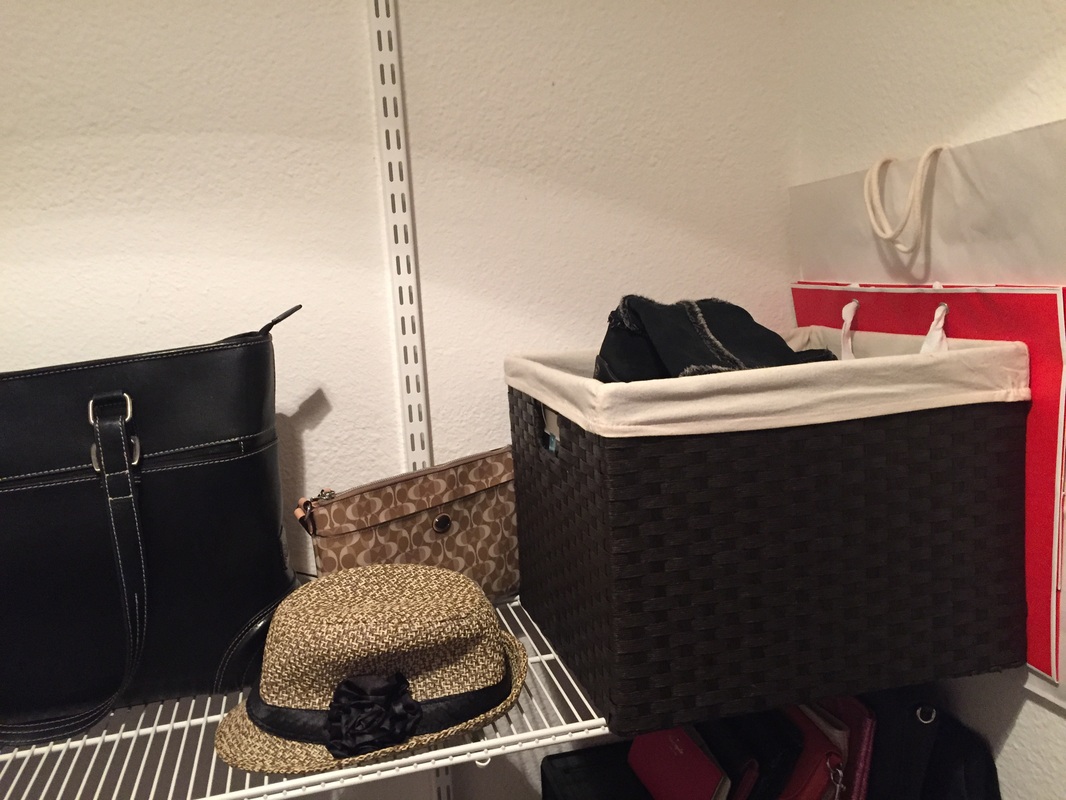
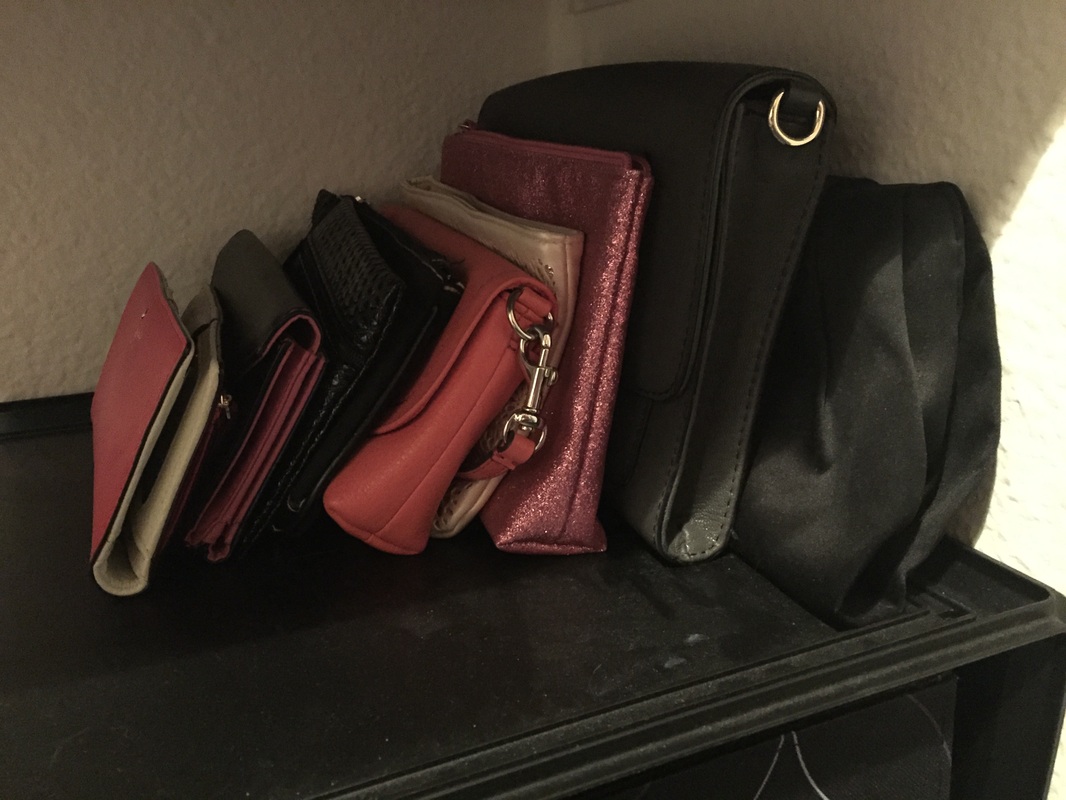
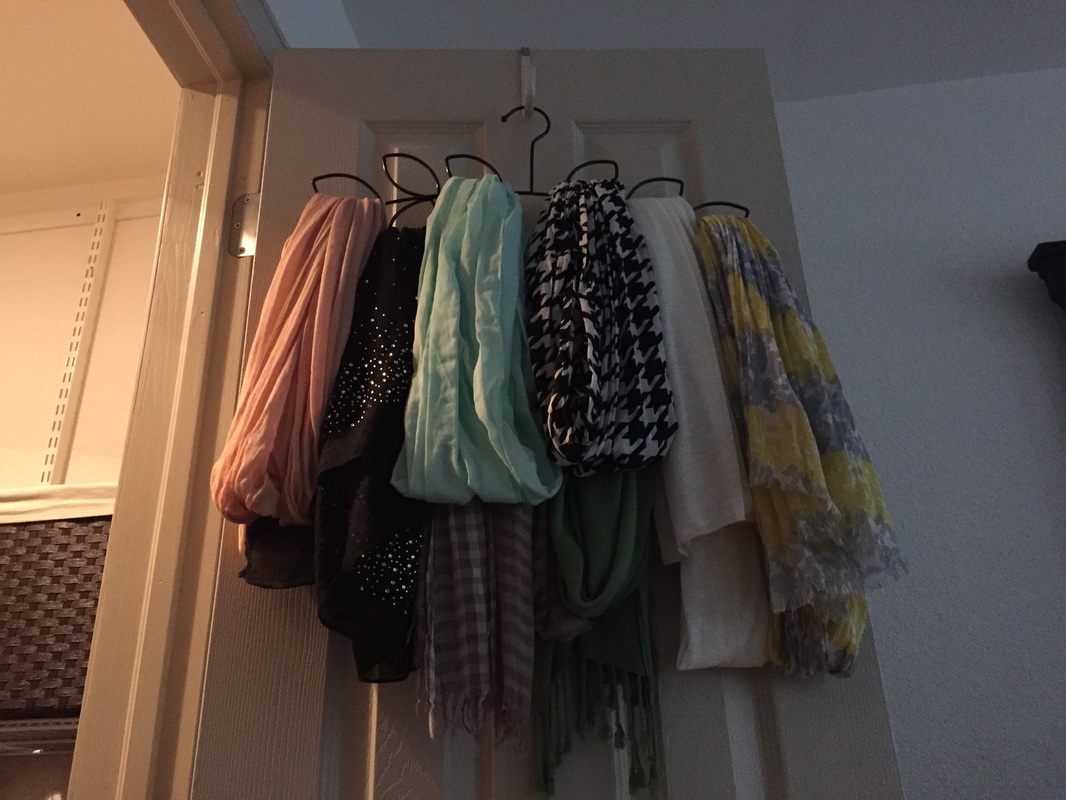
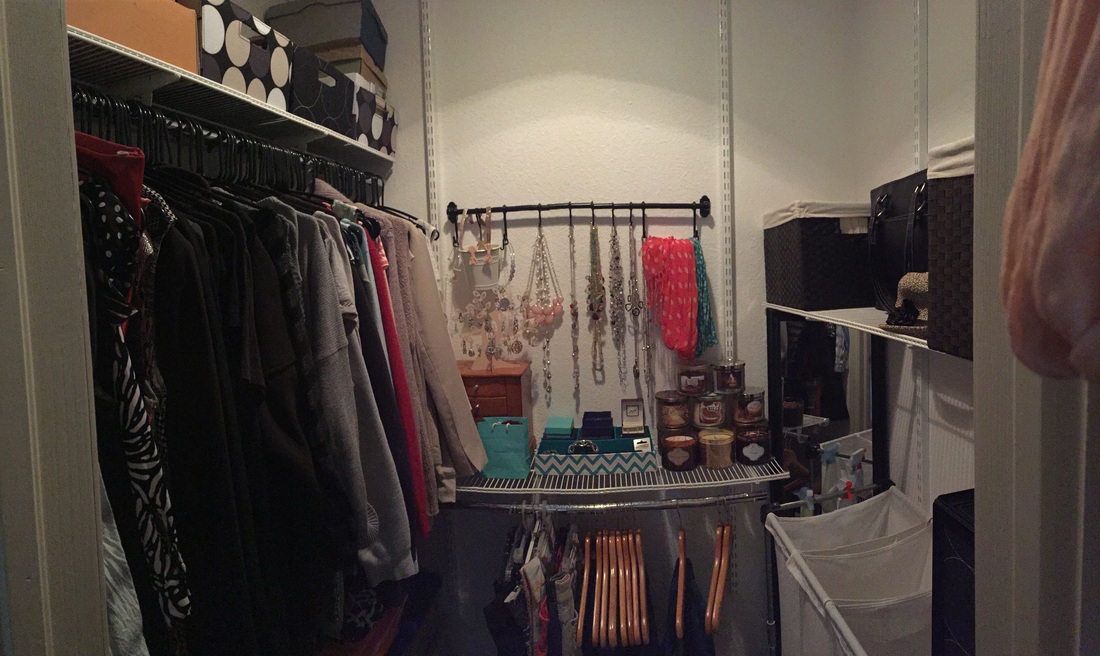
With as much as I love to organize, it's no surprise that I had a lot of fun organizing my closet. So I decided to take a few pictures and show you around. Let's take a look! Thankfully, my closet came with customizable shelves from the Container Store, so I was able to rearrange the configuration until I found something that worked well for me. I decided to hang my dresses and shirts on the left-hand side, create a lower shelf for accessories with pants hanging underneath in the center, and then leave the right side open for more storage. Here's a look at the right-hand side of the closet with my hanging shirts and the shoe storage above. I love how tall the ceiling is so that I have plenty of space above my clothes to store shoes and boots. I created a whole accessory station on the far wall of the closet. I used a rod with buckets and hooks from Ikea to create a space to store all of my necklaces and some scarves. The shelf below is organized with a jewelry box and a chevron tray from Michael's. I also use the shelf to store all of my candles from Bath & Body Works, which makes my closet smell amazing! This is an earring holder I found at a store called Six. It's hard to see with all of my earrings on it, but it's a tree with leaves and birds on the branches. The bucket on the left is where I keep my hair accessories like headbands and clips. Here is a closer look at the rod and hooks holding all of my necklaces. I was so happy when I found this tray because I knew it would be a nice pop of color in my closet and would help me keep my jewelry organized. You can never have enough candles, right? Below the accessories is where I hang my skirts and pants. On the right-hand side of my closet I have a laundry sorter from Bed Bath & Beyond along with some stackable drawers from Target. Inside the drawers I store all of my purses. Above the laundry I have baskets from Target and my laptop bag. Here is the other side of the shelf with the matching basket that holds more shoes and boots. On top of the stackable drawers I keep my clutches and wallets that I'm not using. On the back of the door I have a hook that holds a scarf hanger I got at Bed Bath & Beyond. It's a great way to keep my scarves organized and easy to access. And lastly, here's a panorama of the entire closet. So that's my whole closet...I hope you found some helpful storage ideas for organizing your own closet!
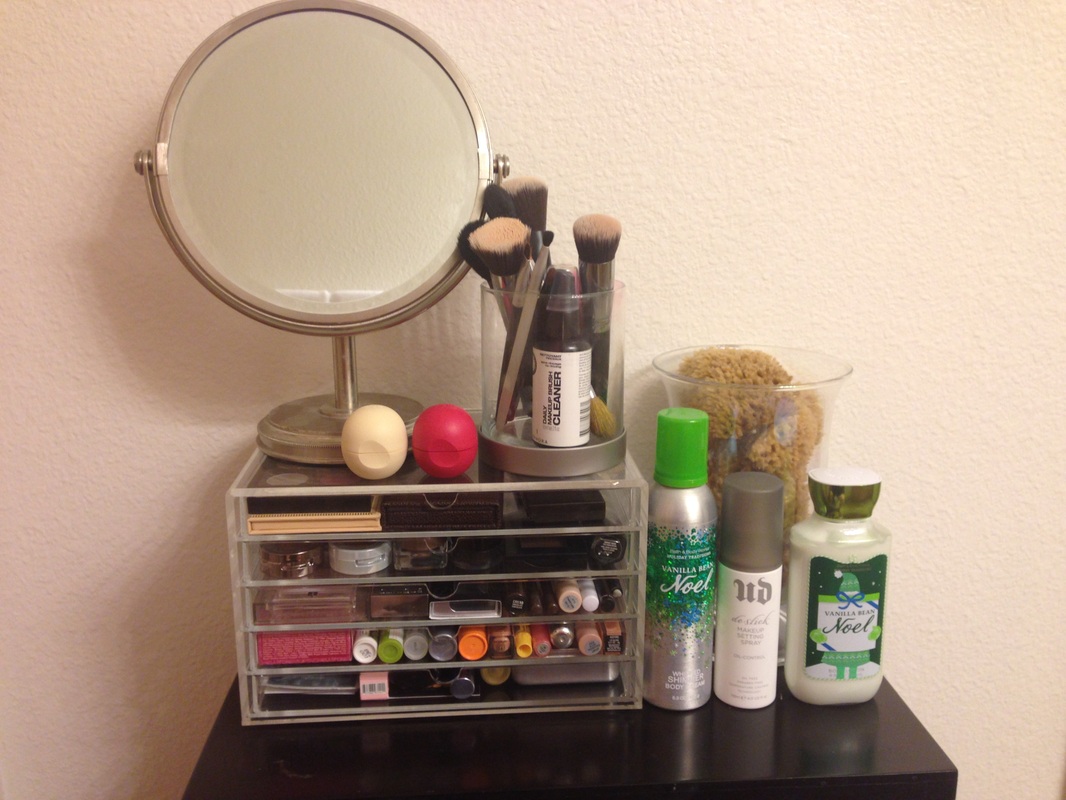
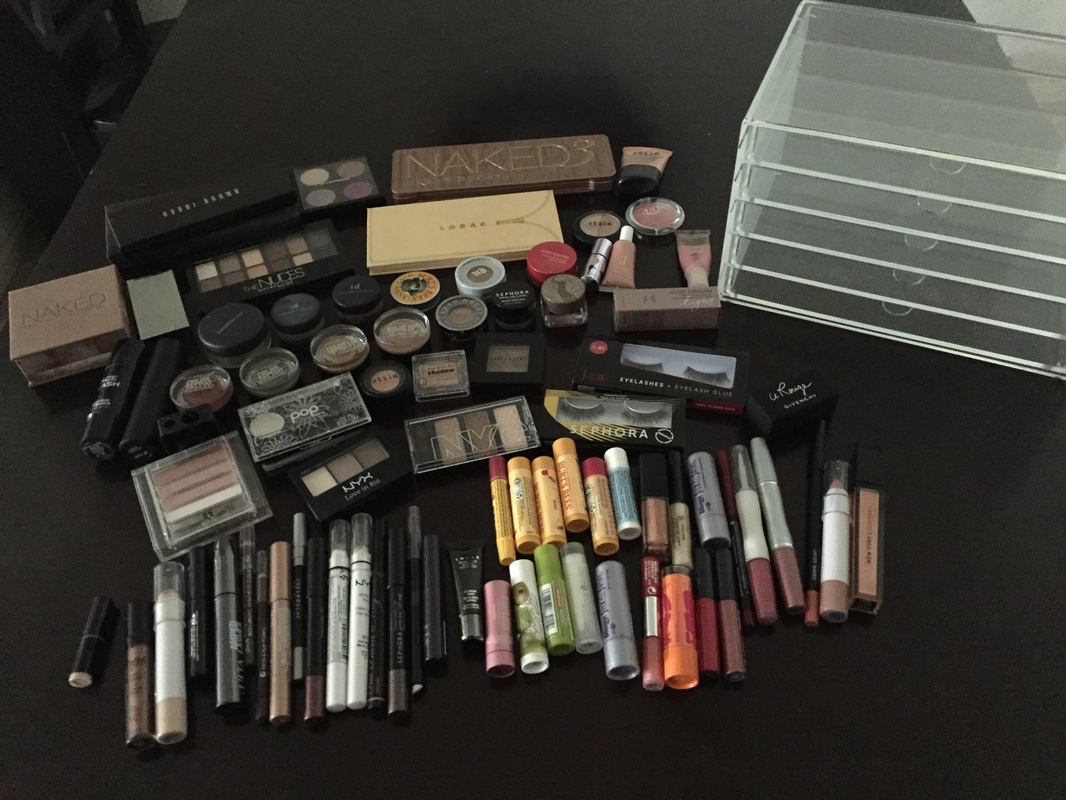
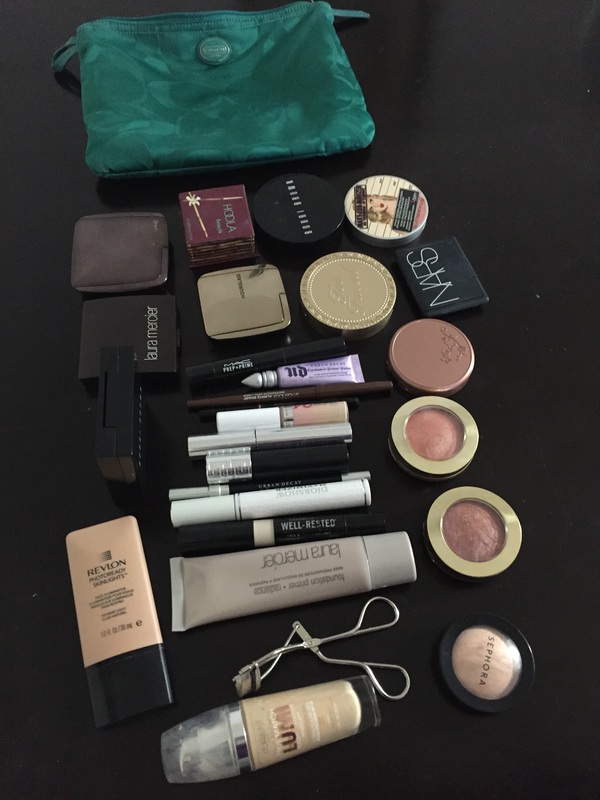
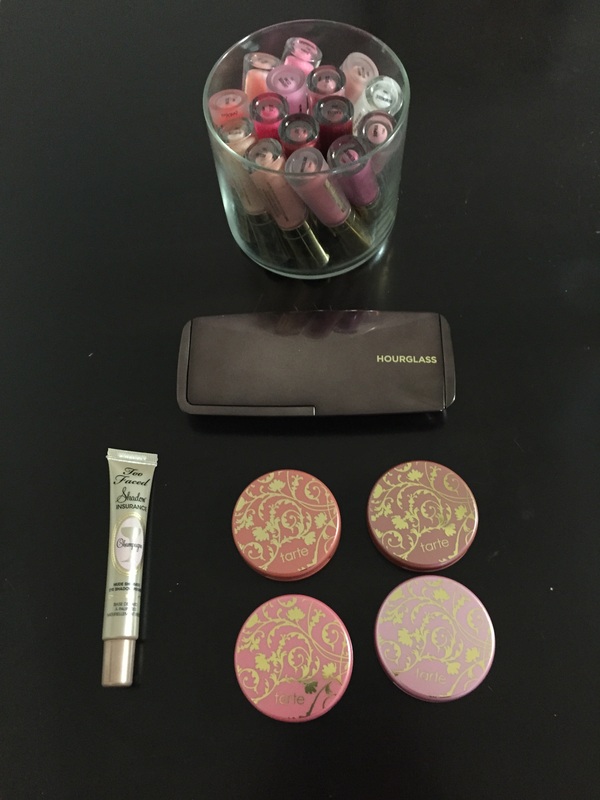
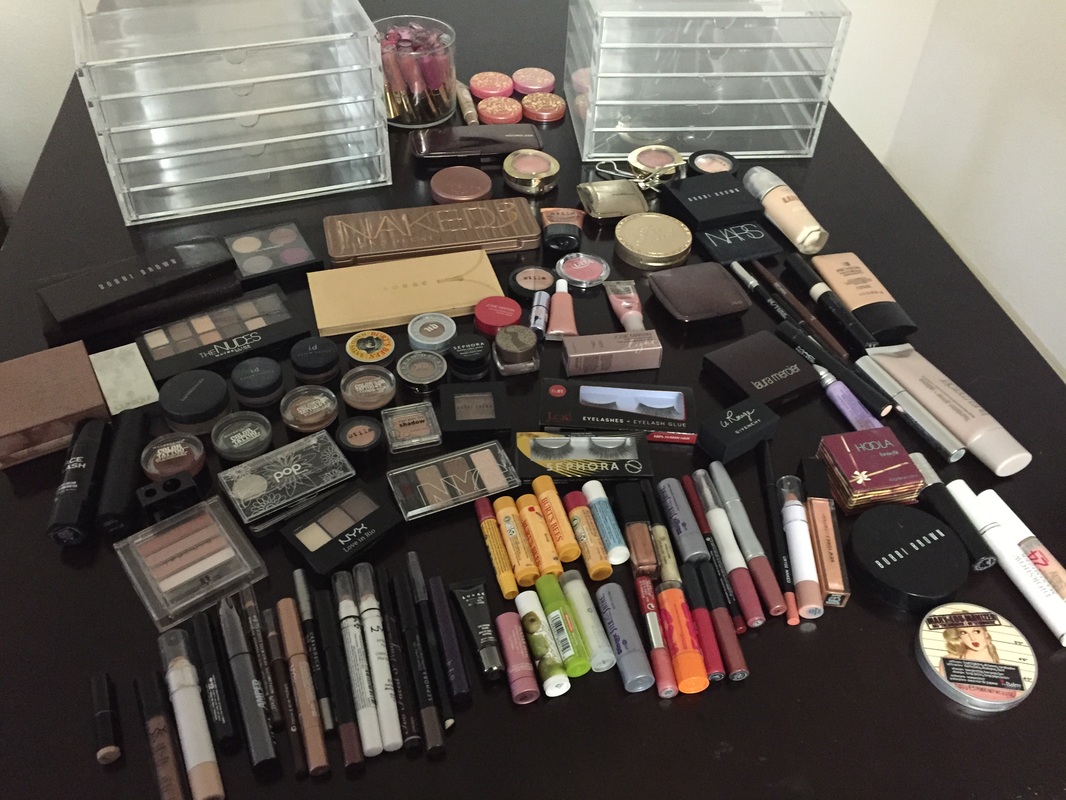
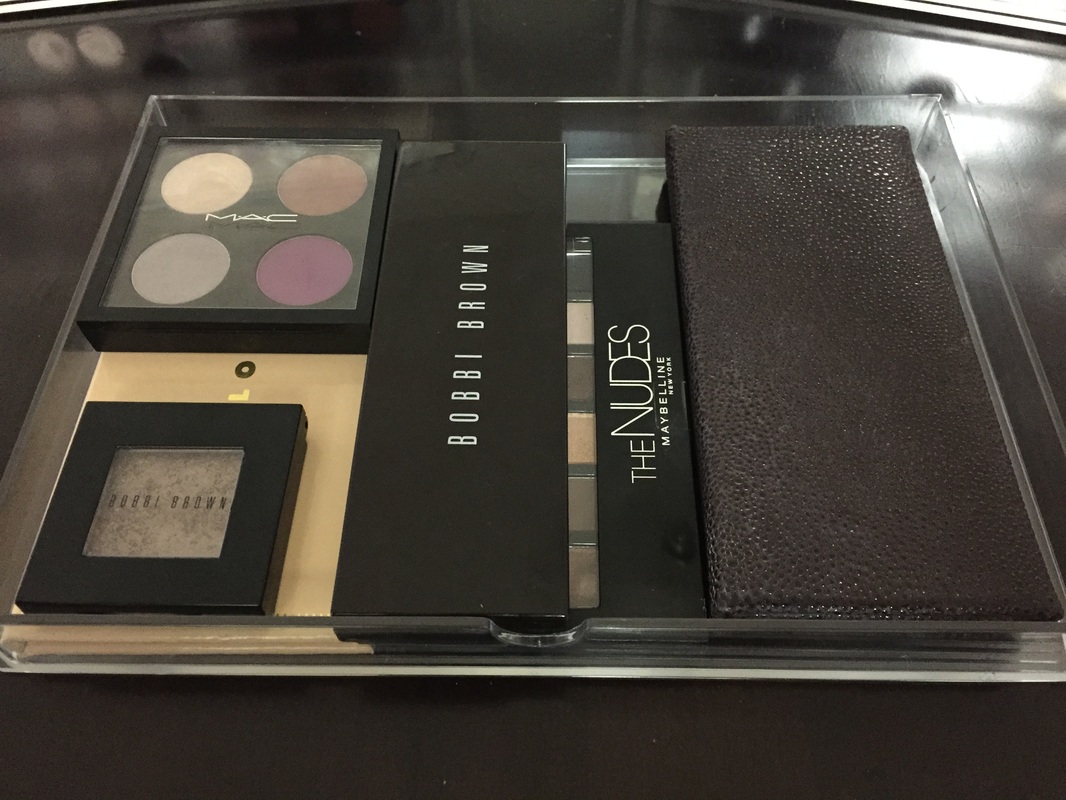
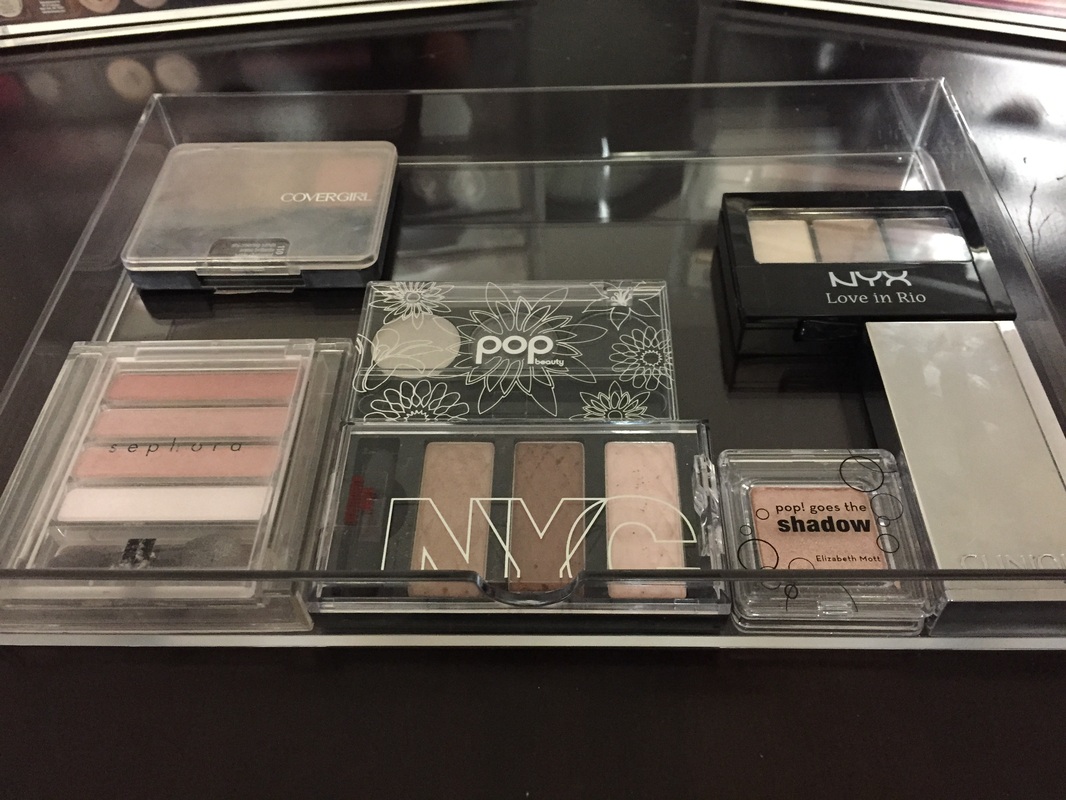
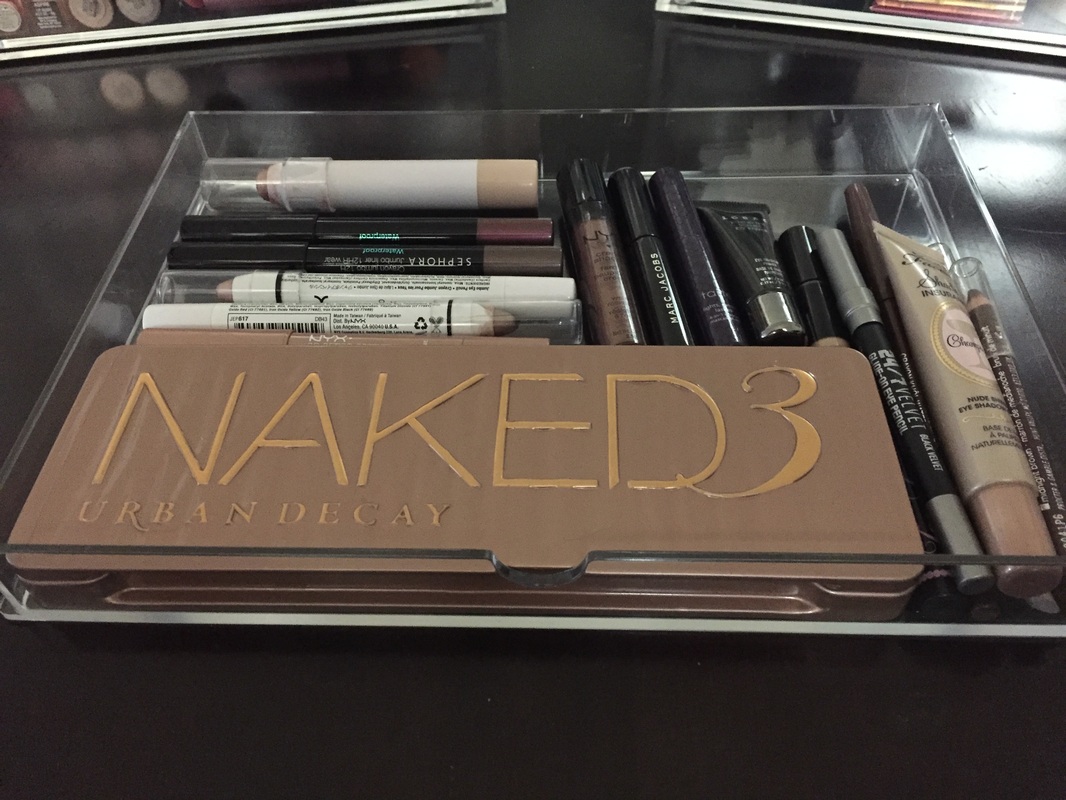
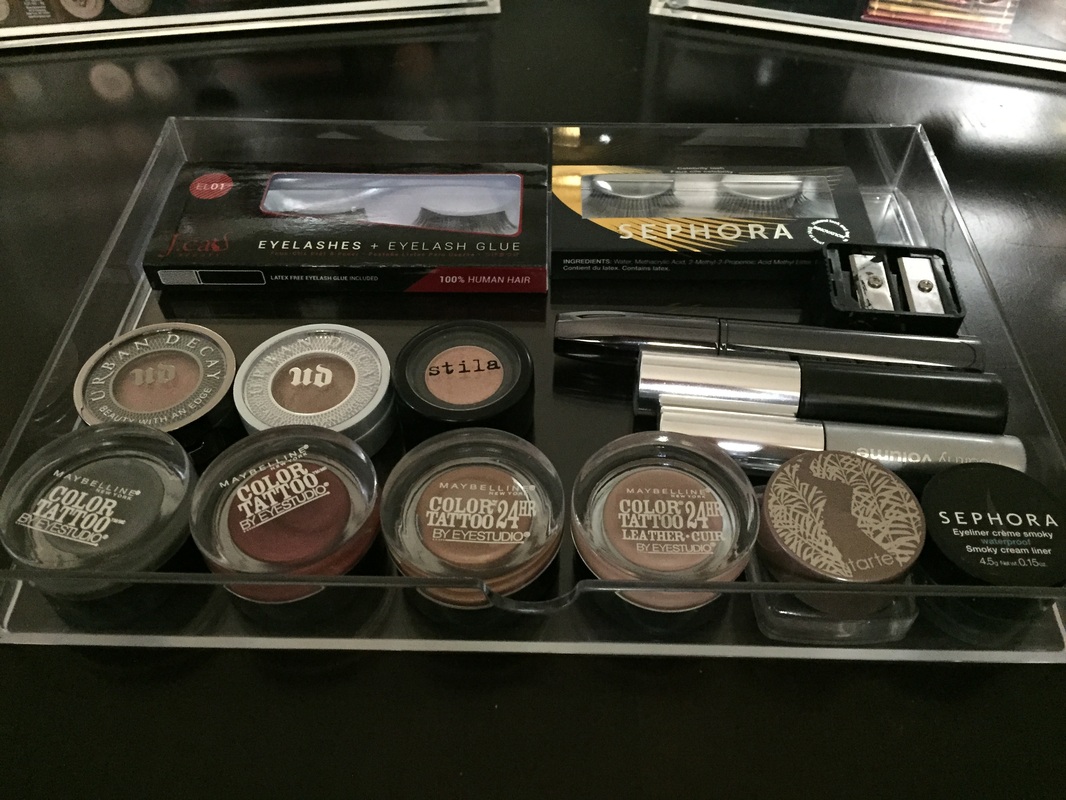
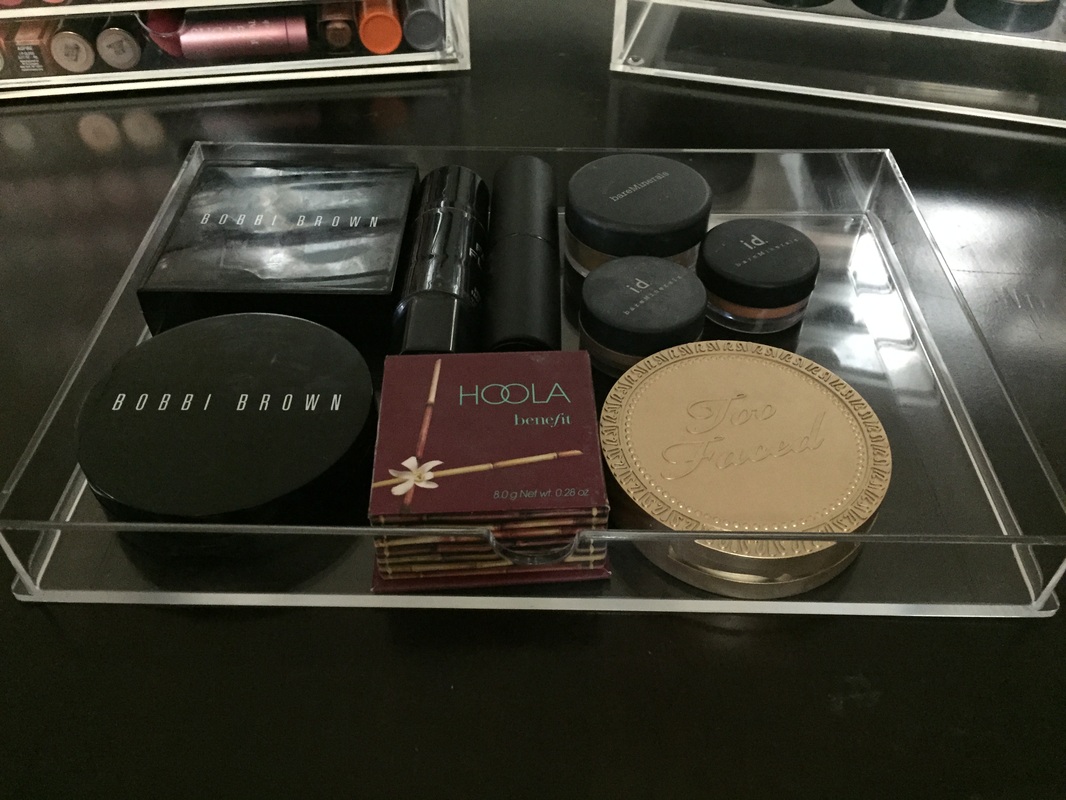
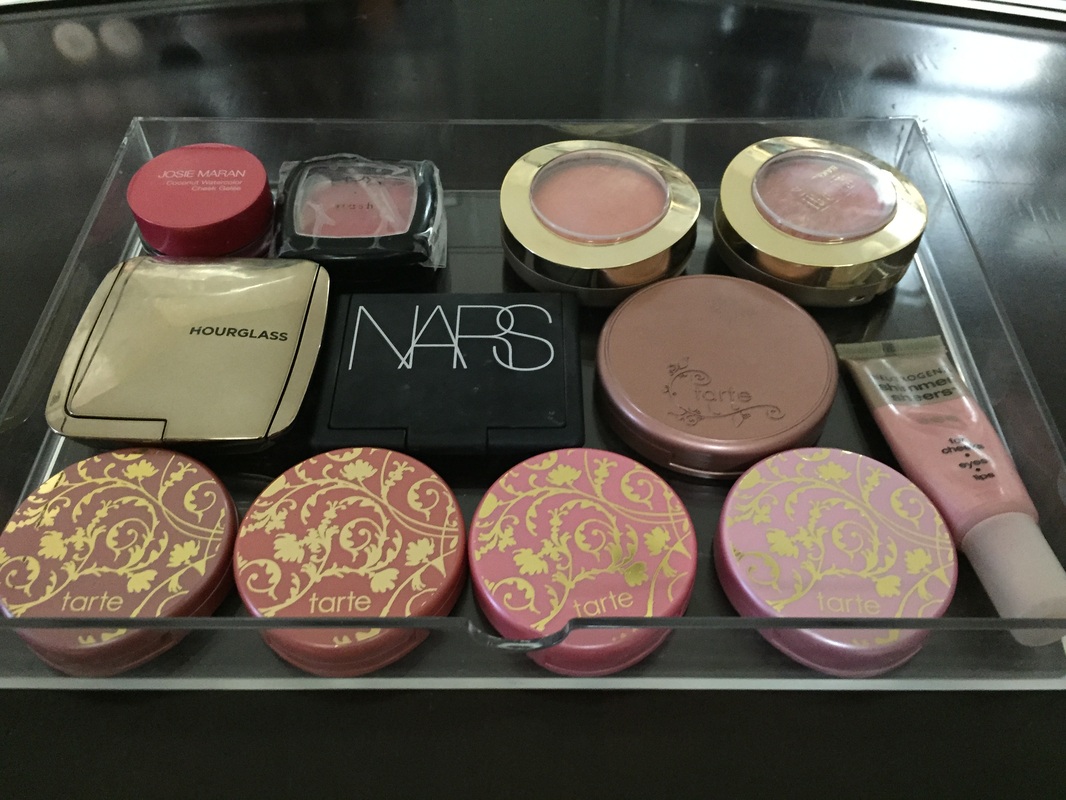
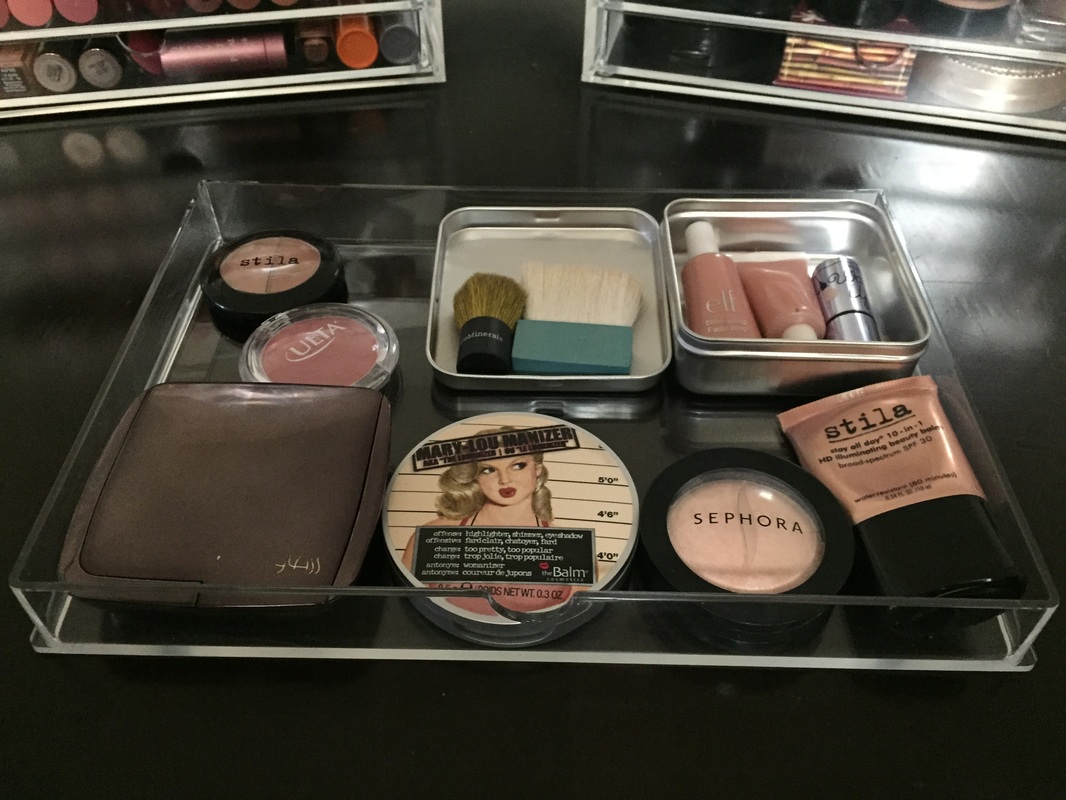
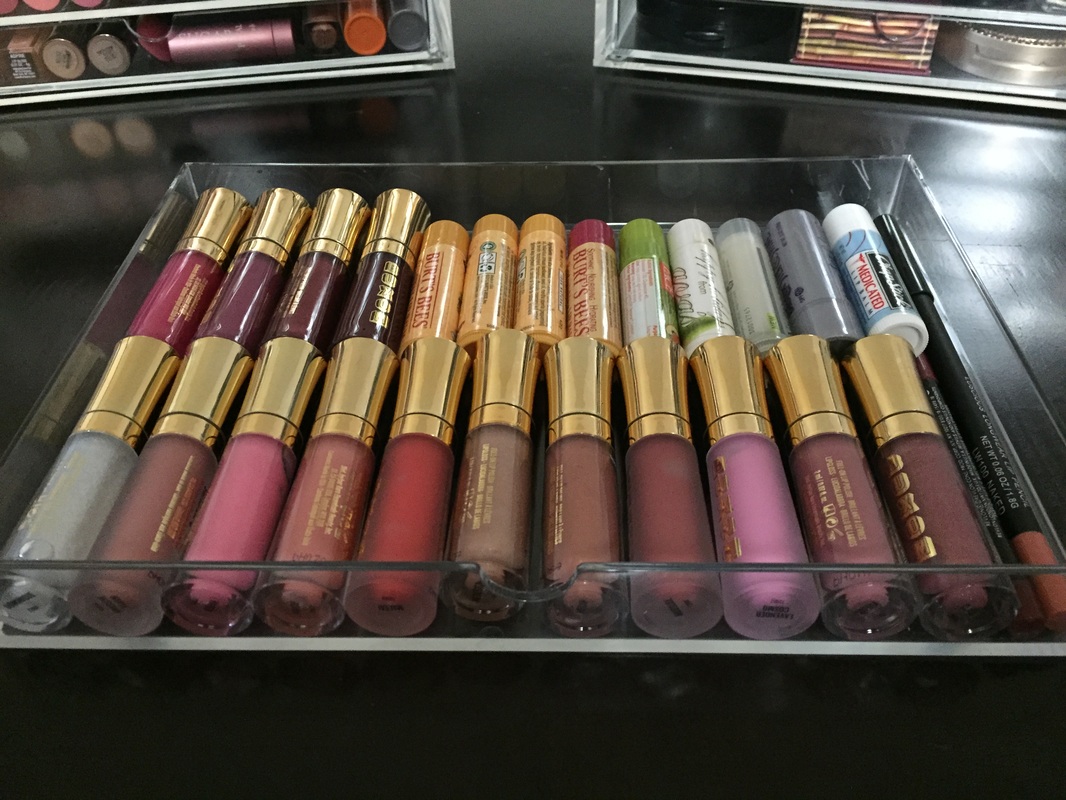
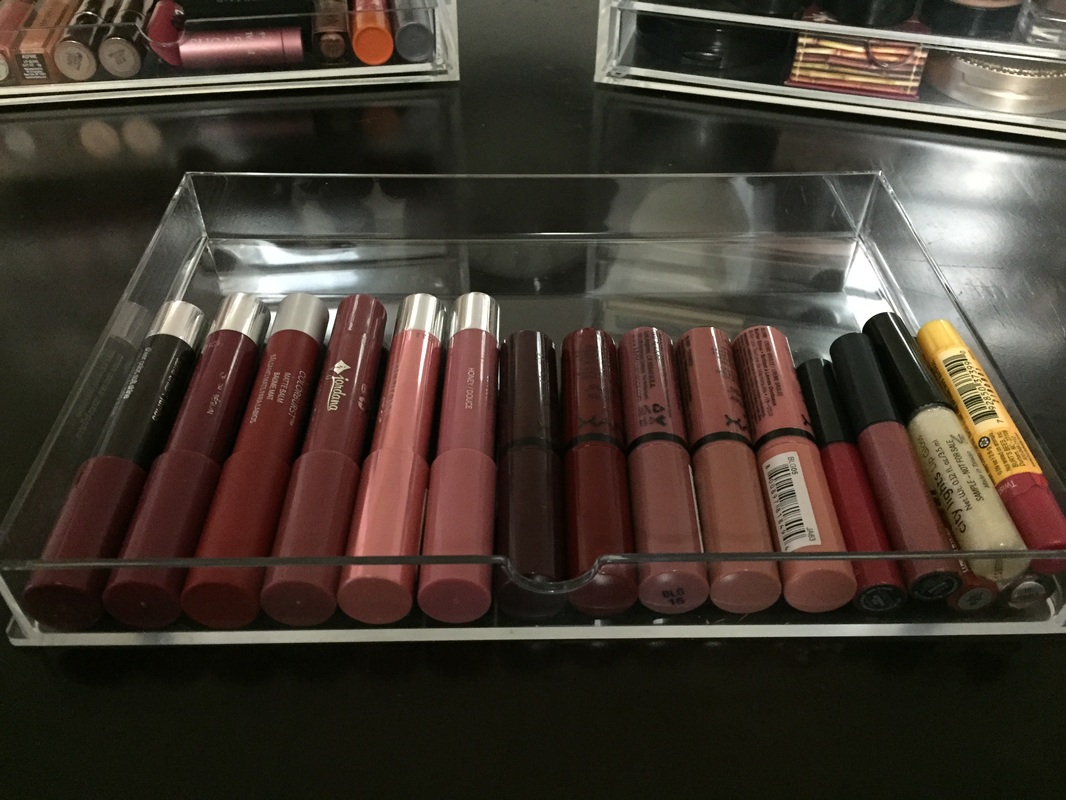
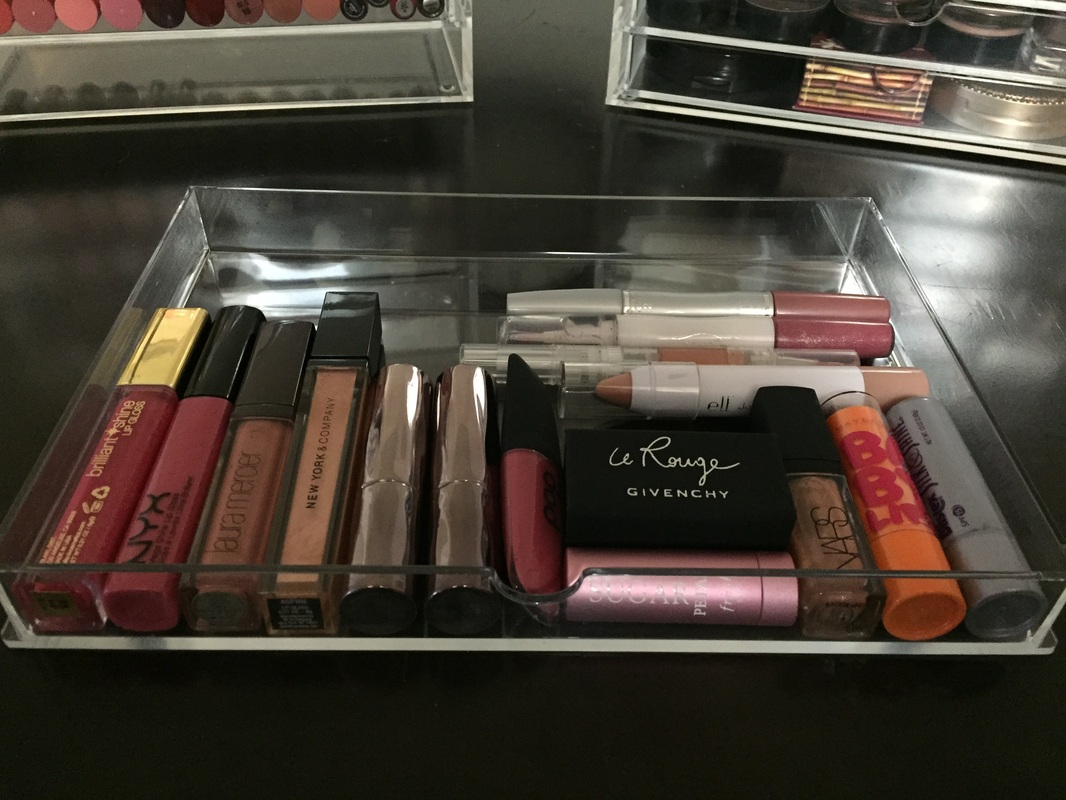
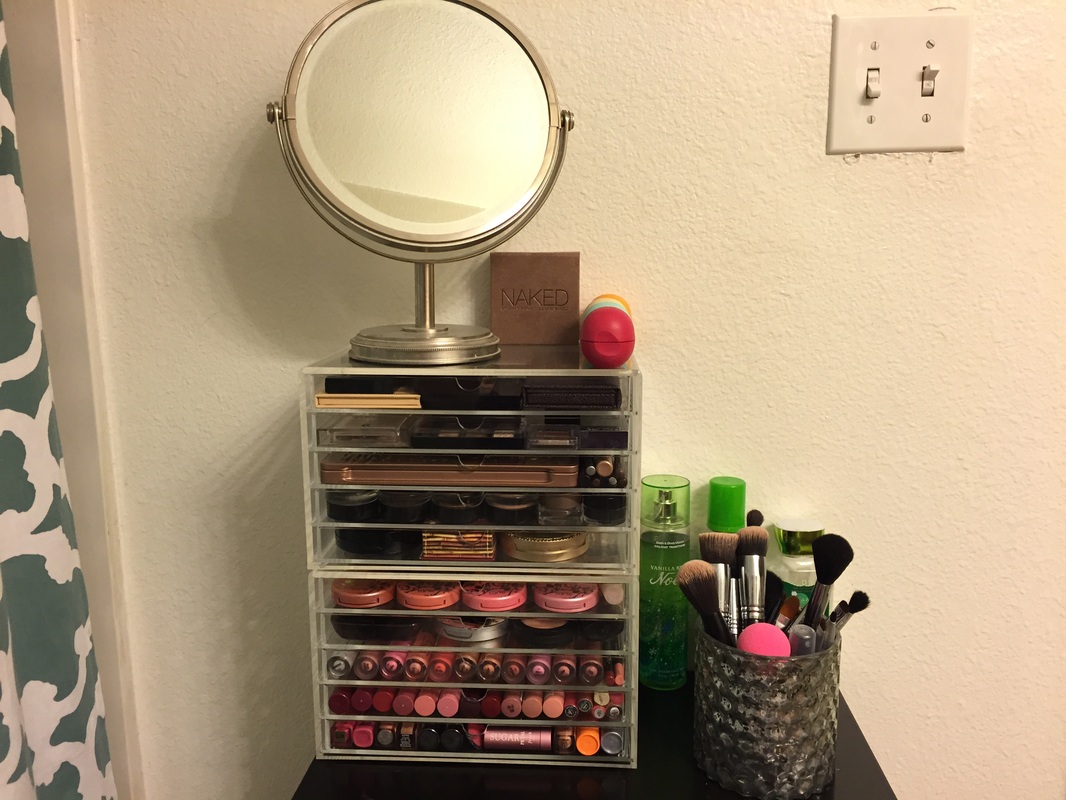
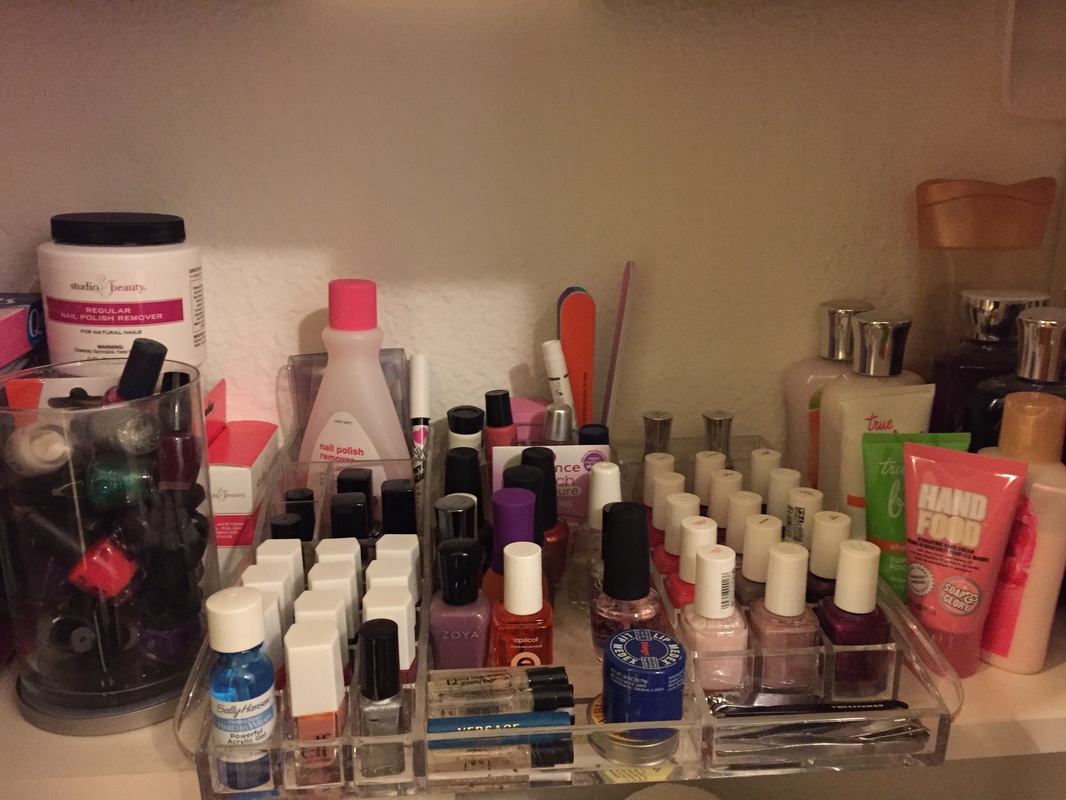
Almost exactly one year ago I wrote this blog post to show how I organized my makeup. Since then, my makeup collection has changed and grown, so I decide to write a new post about my current makeup collection and organization. I personally love watching these kind of videos on YouTube and wanted to share my own version on this blog. Just like those YouTube videos, I should probably write a disclaimer that I am not trying to brag about how much makeup I have. I simply love makeup and organizing, so this is my way of bringing those two things together. So let's get started! Here is a look at all of the makeup I had stored in my first Muji 5-Drawer Acrylic Case. And this is a look at all of the makeup I had crammed in my makeup bag that I use whenever I put on makeup. And lastly, here is some of the newer makeup that I have recently purchased, which pushed me to buy another Muji case so that I could store everything all together. And here it is, all put together in one big pile, along with both Muji cases. It wasn't until I had it all laid out that I realized just how much I had! In order to organize everything, my first step was to pull out everything that I use on a daily basis and put that into my makeup bag so that I can grab it whenever I'm ready to put on makeup. Next, I started filling up drawers by category. So my large eyeshadow palettes went together, my lip products went together, and so on. And this is the final product. It looks much better, doesn't it? Next I will show you a picture of each drawer so you can see how they turned out. I won't go over every product in the drawers, but the pictures are clear enough that you can see pretty much everything in them. So those are all of the drawers, one by one. Here is a picture of how I have them set up in my bathroom along with my makeup mirror, brushes, and other beauty items. While I'm on the topic of beauty and makeup, I figured it only made sense to include a picture of my nail polish collection as well, which are stored on the bottom shelf of my linen closet outside of my bathroom. You'll see that I have a jar of mini polishes on the left along with various methods of polish remover. In the center is a really handy organizer that I found at Target a few years ago. It works perfectly for keeping all of my polishes lined up and organized. On the right-hand side you can see a glimpse of Bath & Body Works lotions and shower gels along with a few other brands. And that's the end! I hope you enjoyed this tour through my makeup collection and hopefully you either spotted some products you'd like to add to your own collection or possibly you got an idea or two on how to store your makeup.
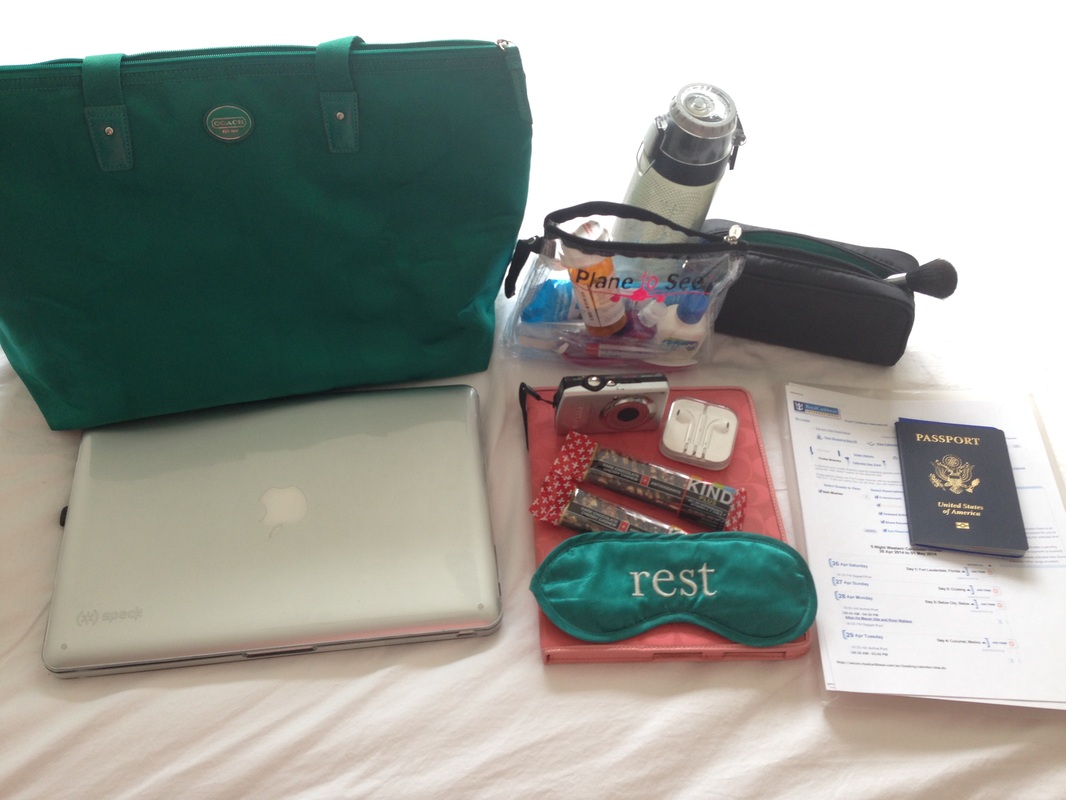
My next post will be a tour of my closet for more organizational ideas! My Eagle Creek packing cubes arrived the other day and I wanted to try them out right away, so I decided to do a packing test run for my trip. Here is a look at everything I'm taking. As a carry-on, I will be using my green Coach travel bag because it has comfortable straps, it zips closed, and it hold a lot of stuff. The items included in my carry-on are:
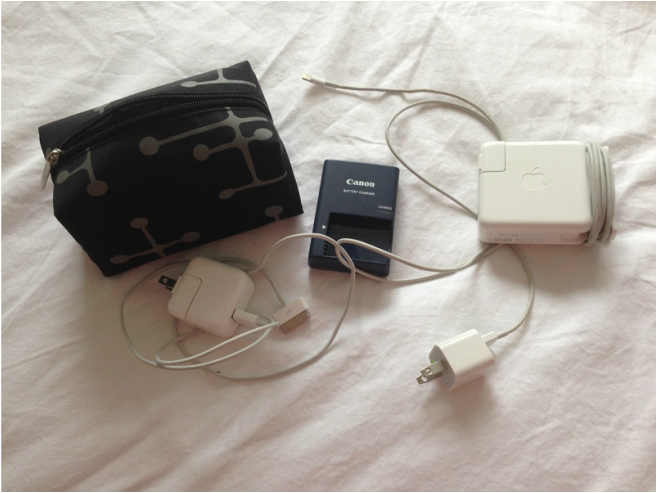
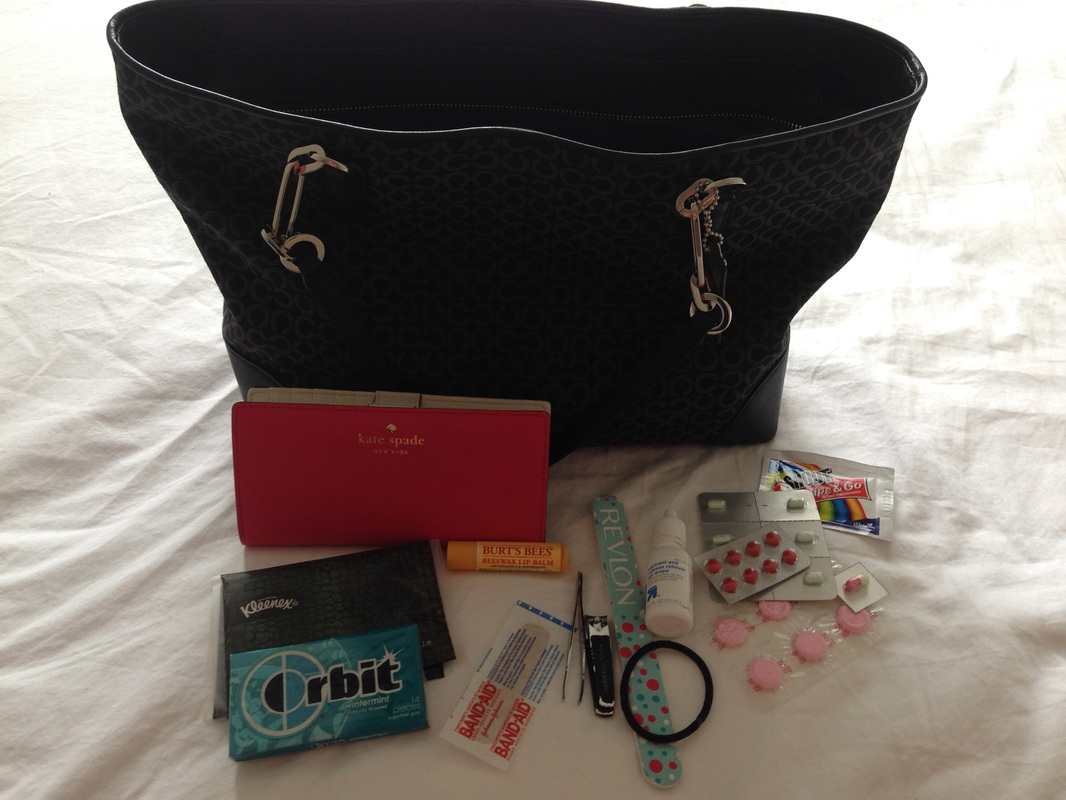
Inside my carry-on I will also have a little zipper pouch with all of my cords in it. It will have cords or chargers for my iPhone, iPad, laptop, and camera. Along with my carry-on bag, I will also be taking my full-size purse on the plane with me. I will only be using this purse during our time in Daytona and will use a smaller cross body purse for the cruise. Some items in my purse include:
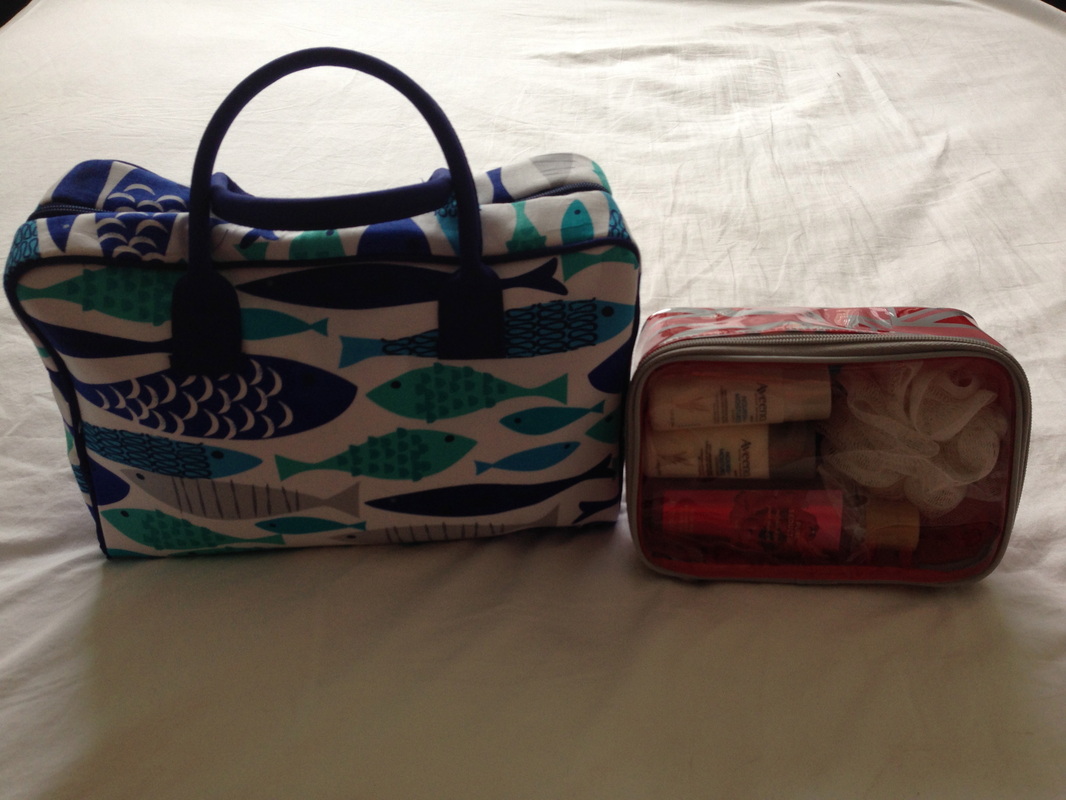
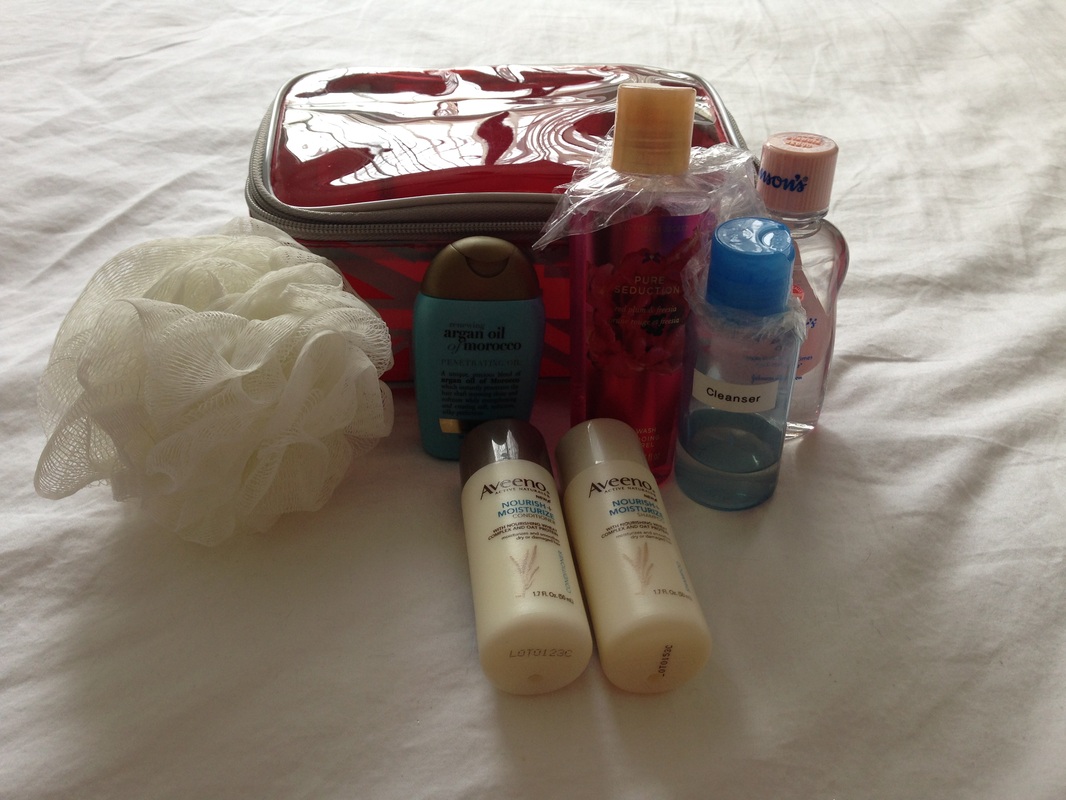
Inside my checked suitcase will be two cases for toiletries. The smaller one is specifically for my shower items and the larger one is for everything else. Here's a closer look at both. The smaller case is from Soap & Glory and it came from a holiday gift set. I held onto it because I thought it would come in handy some day, and now it has! The items in my shower kit include:
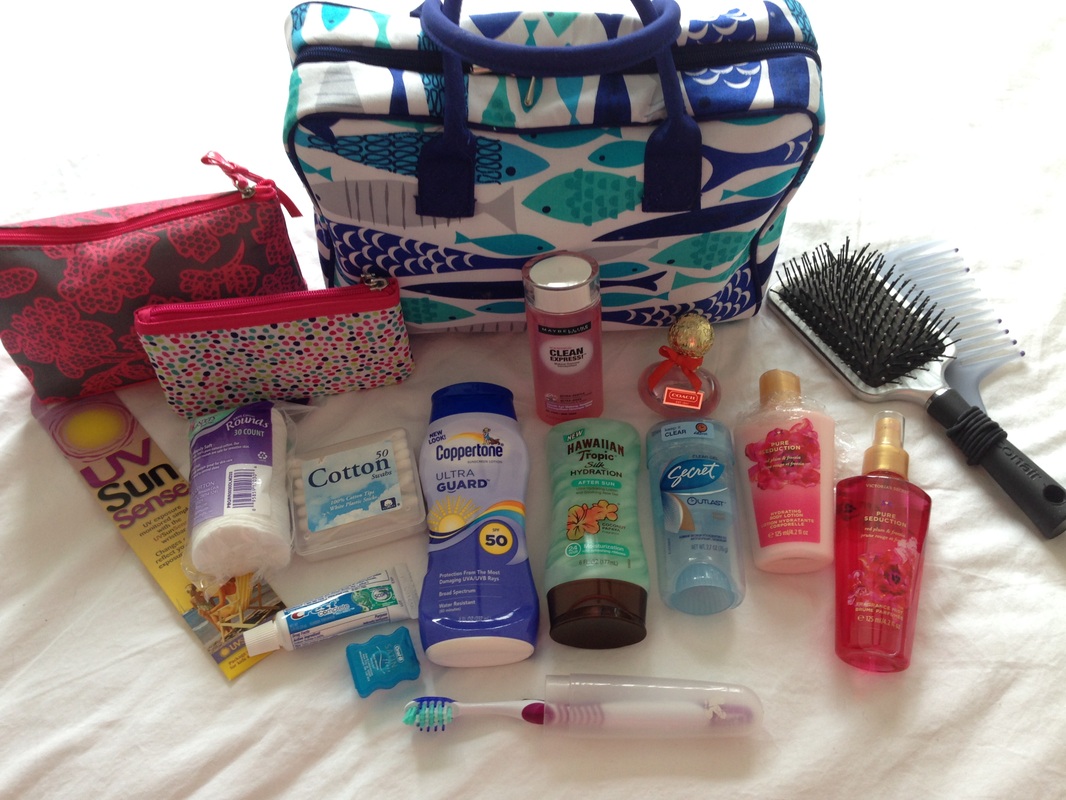
Inside my larger toiletry bag I will be taking:
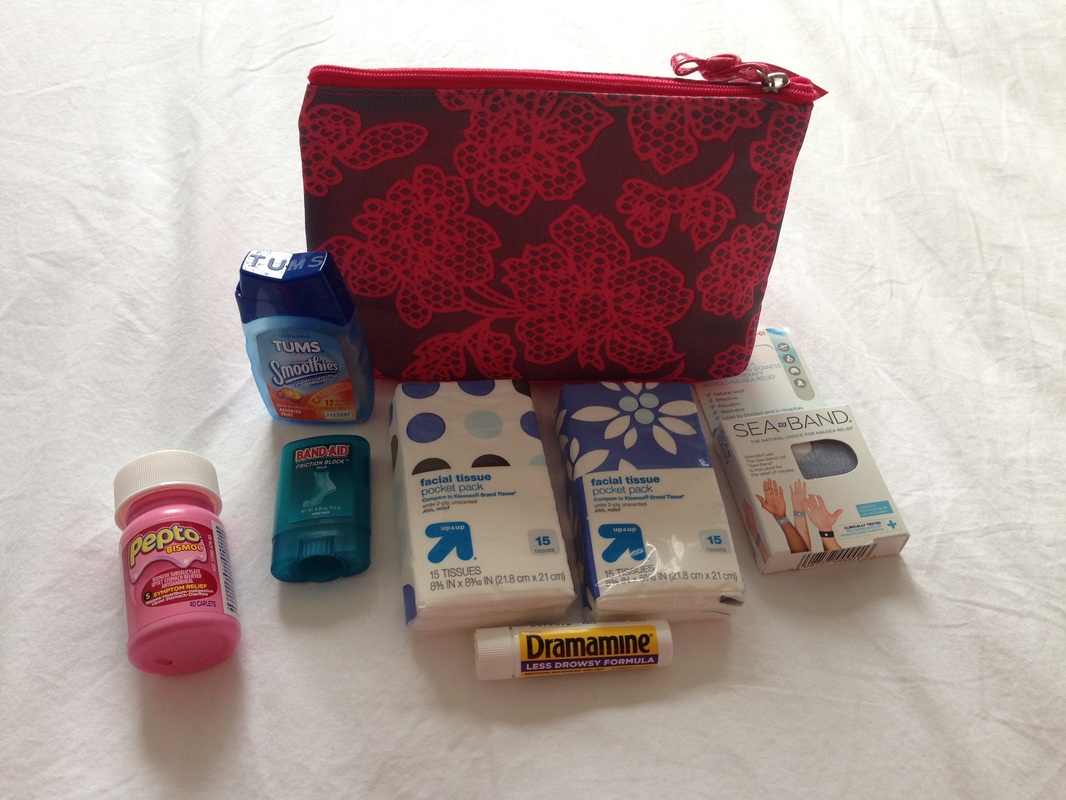
The zipper pouch inside my larger toiletry kit will be for first aid items. They include:
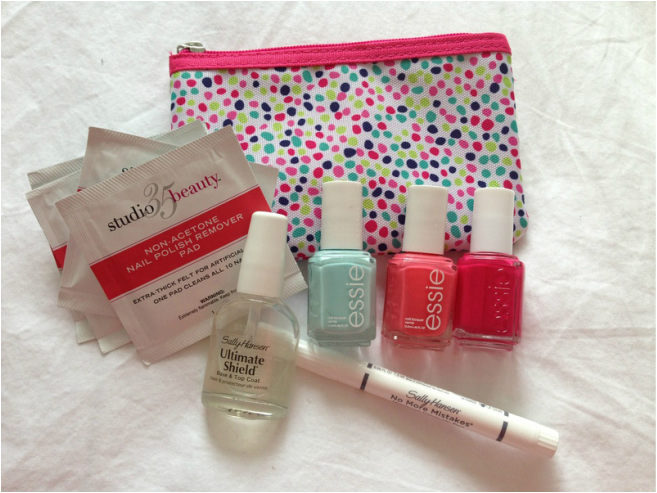
My travel manicure set will include:
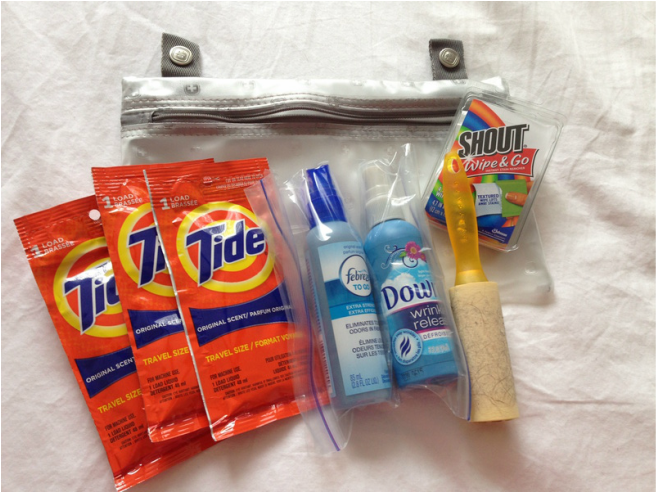
I will also be packing a mini laundry kit in my checked suitcase, which will have:
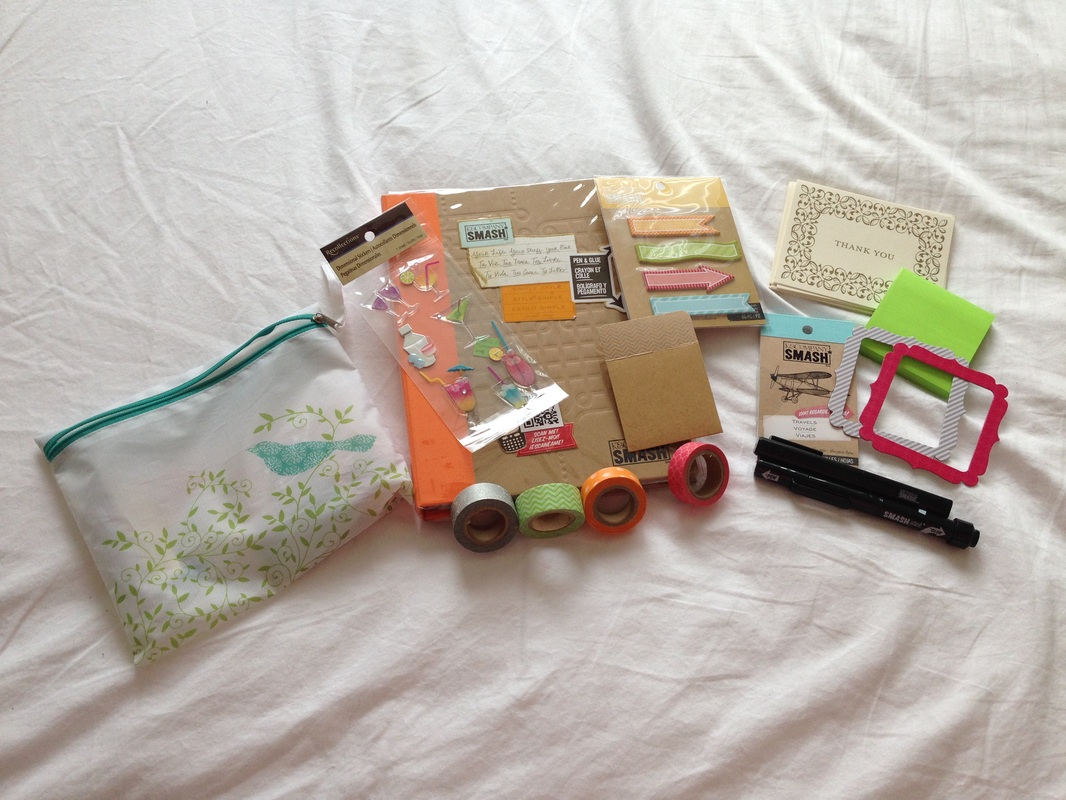
During the trip I plan on keeping a Smash book of our adventures, so I am bringing the Simple Style Smash book along with a zipper pouch of supplies, including:
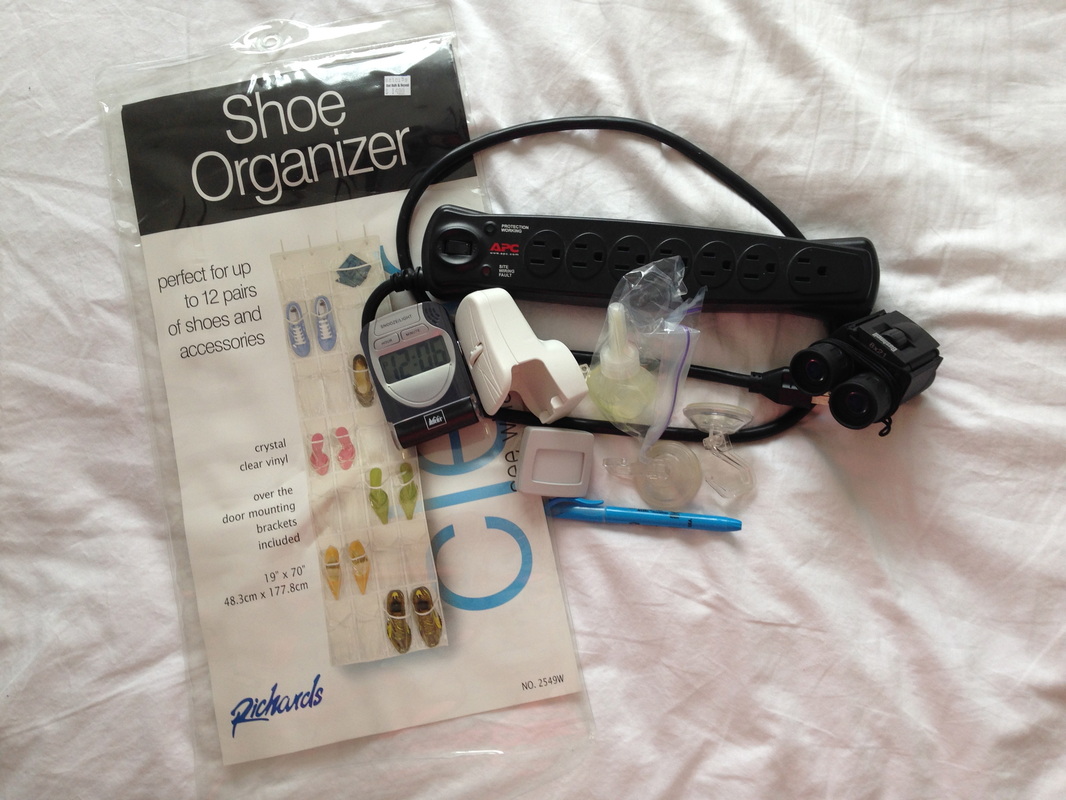
Some other items that will be packed in my suitcase are for my cabin stateroom. They are:
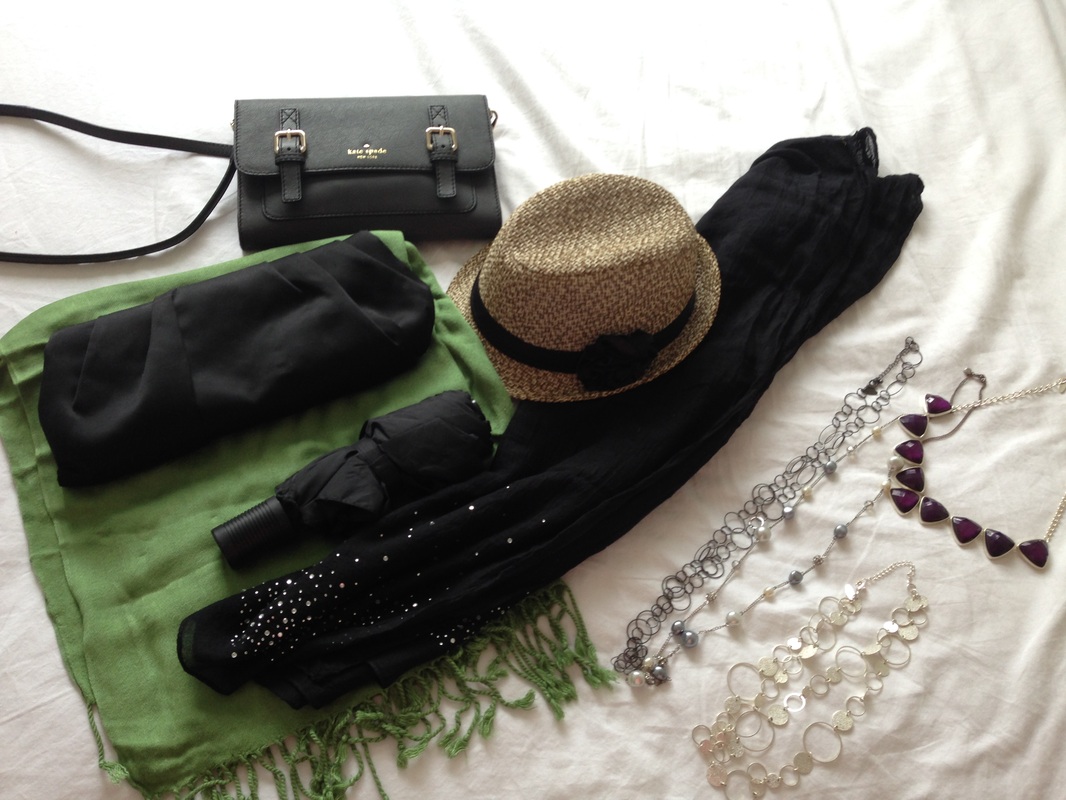
And now, finally on to clothes and accessories. The pictured accessories above include:
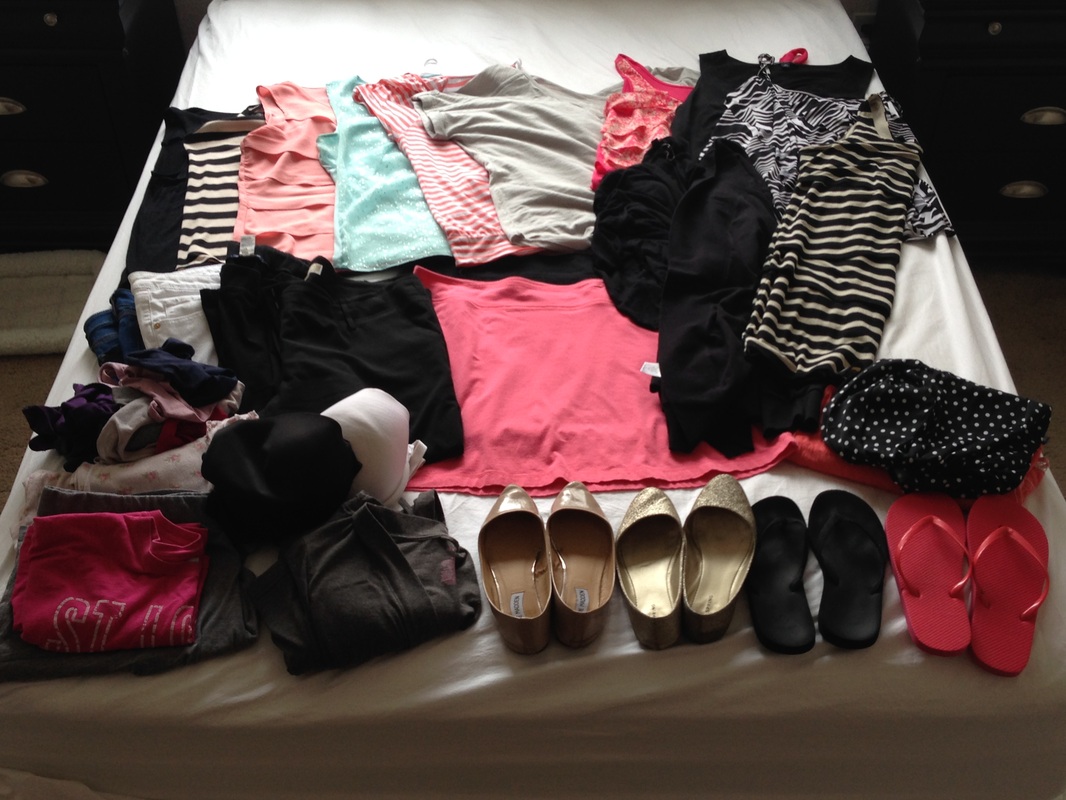
Here are all of the clothes and shoes I'll be bringing on the trip for both Florida and the cruise. If you're interested, you can see how my outfits are broken out in my last blog post. My list of clothes includes:
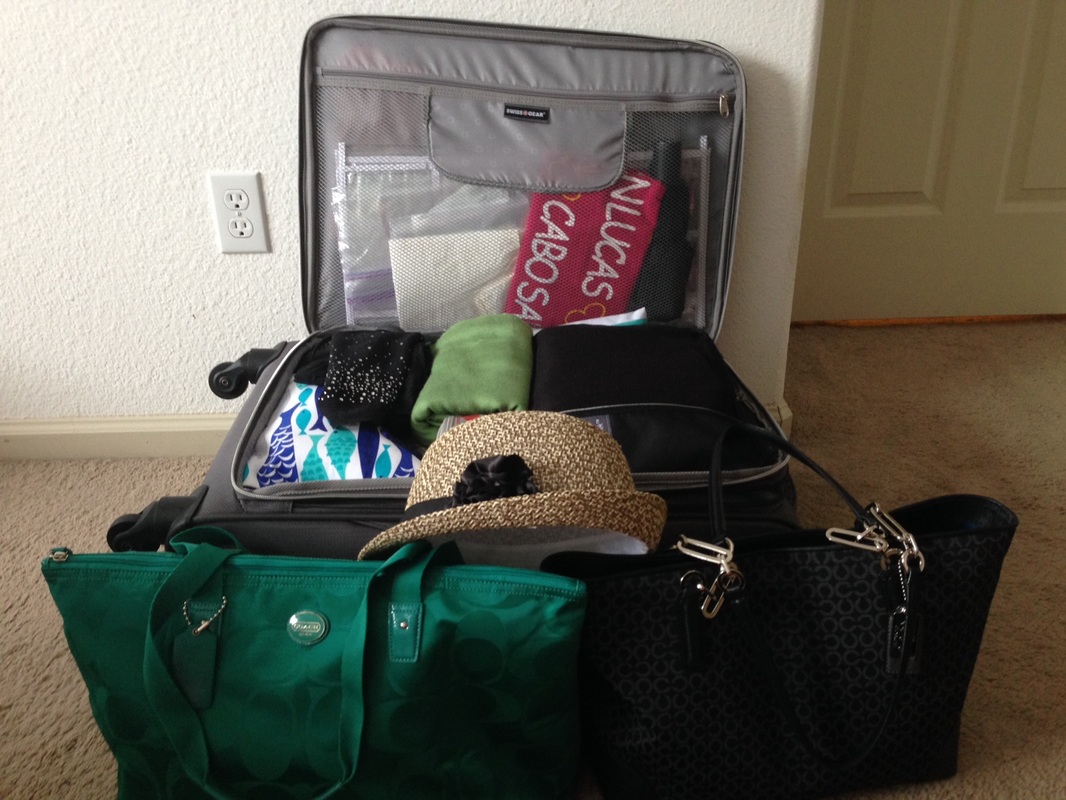
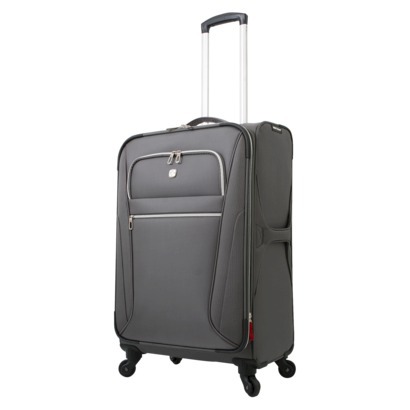
This is the final product once I loaded everything into my suitcase. The suitcase itself is a SwissGear Checklite 24" Upright in Charcoal with spinner wheels. I bought it at Target for about $160. I'm hoping the light gray color will make it stand out from the other 95% of suitcases on the luggage carousel that will be black. And that is a look at everything I am taking on my trip! I believe I've thought of everything, but if I am missing something that you have found handy on a cruise before, please let me know in the comments!
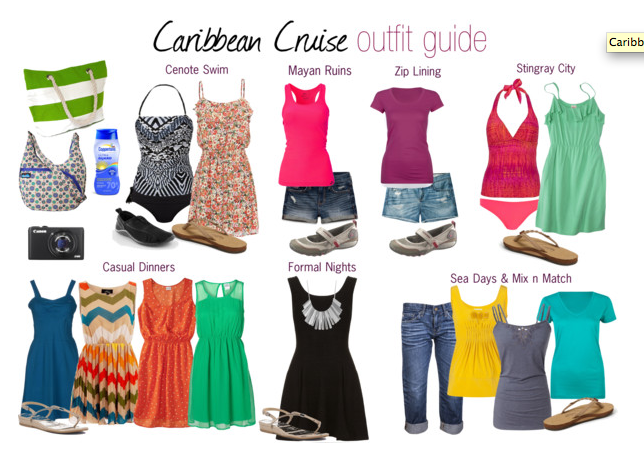
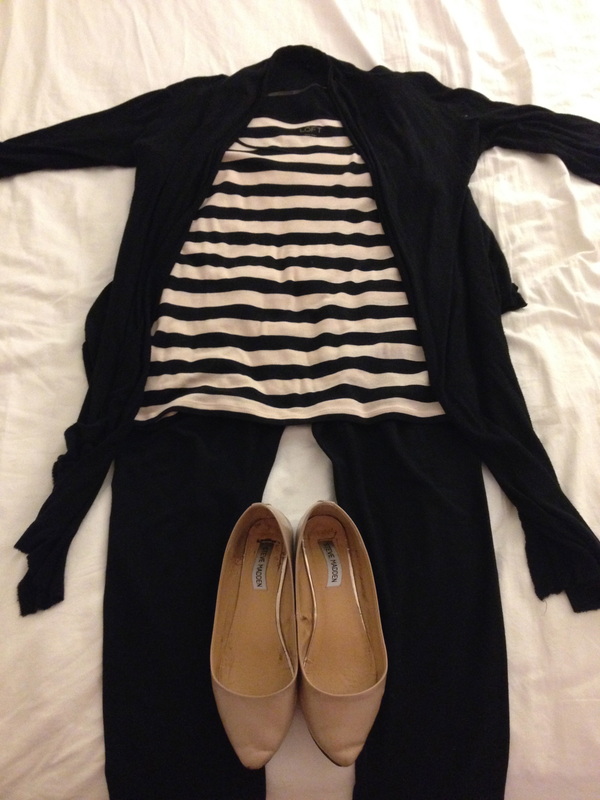
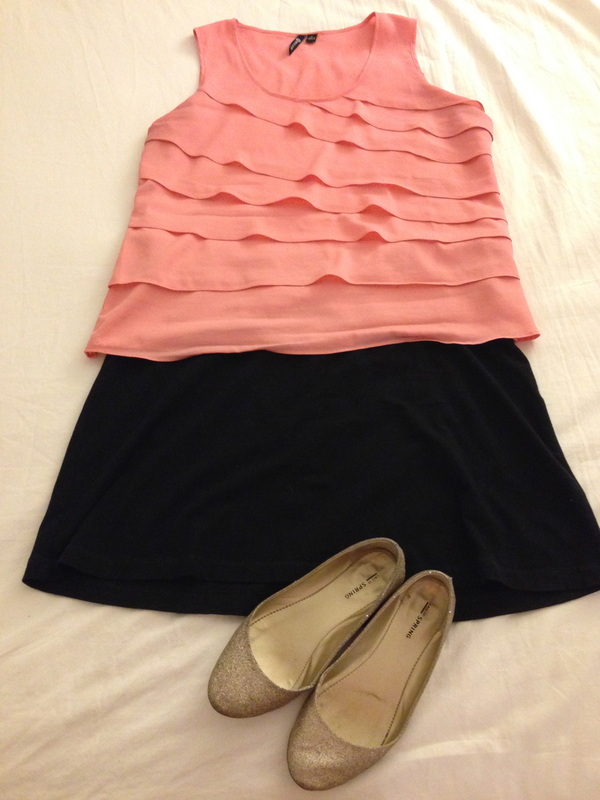
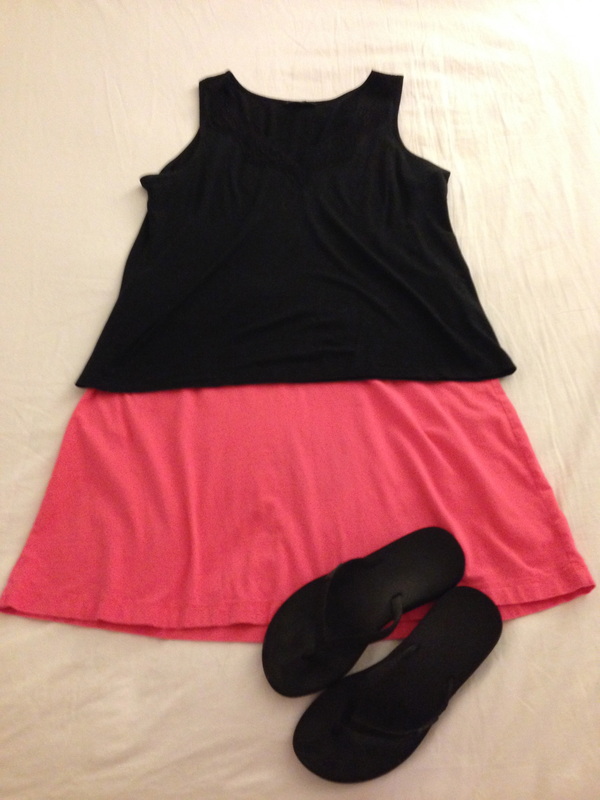
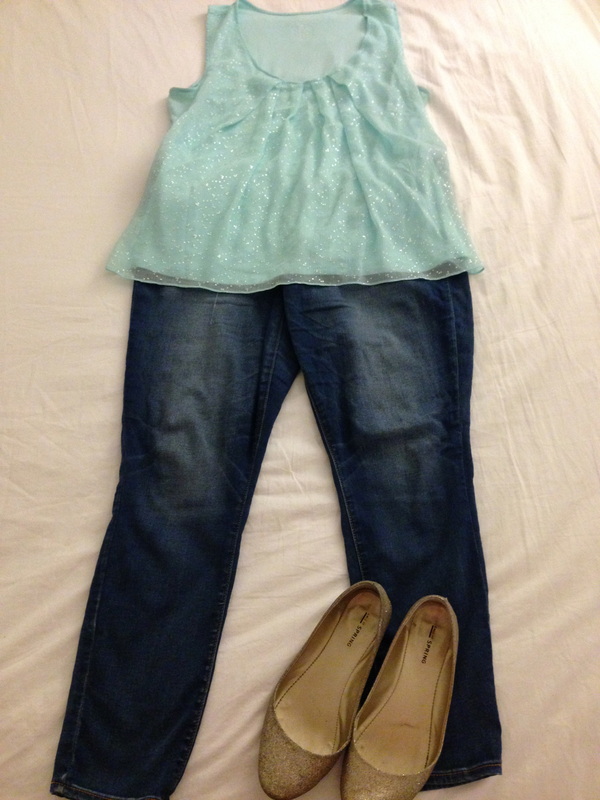
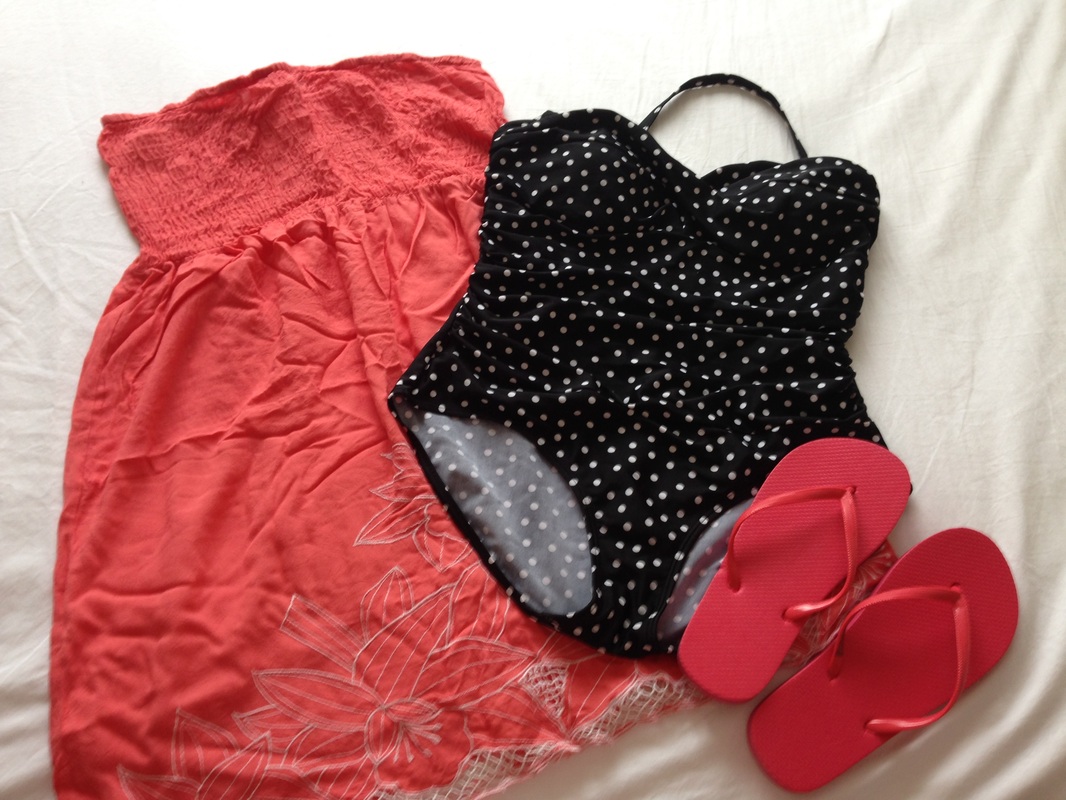
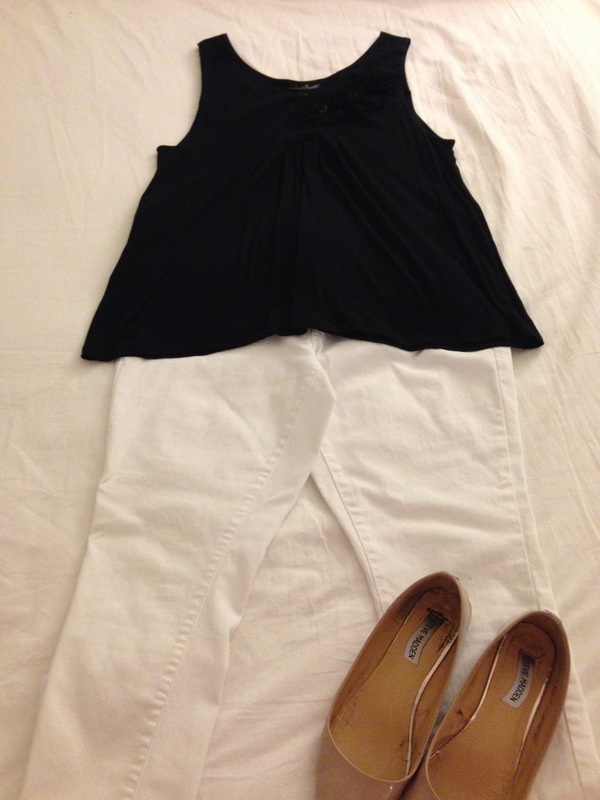
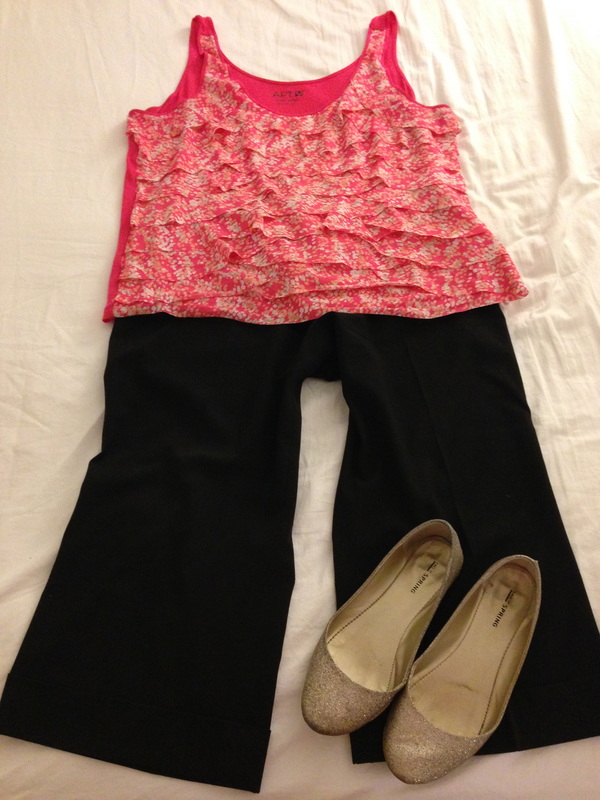
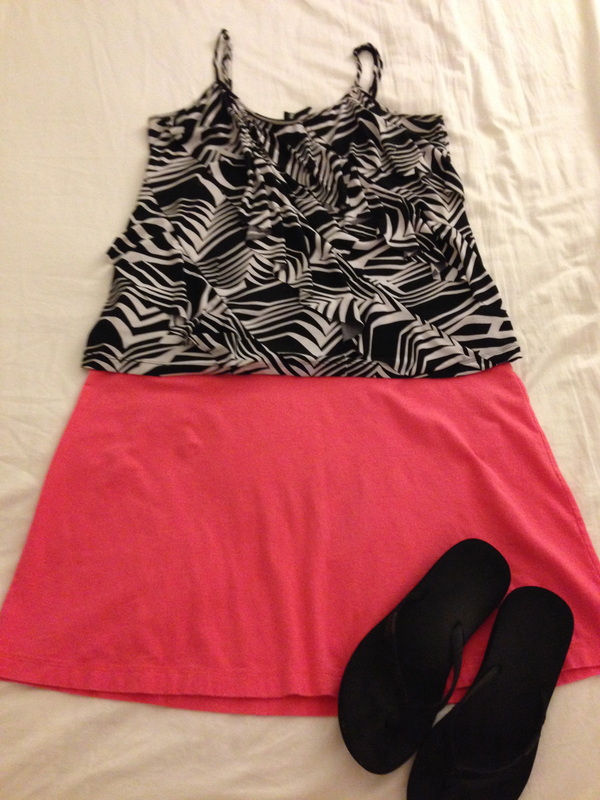
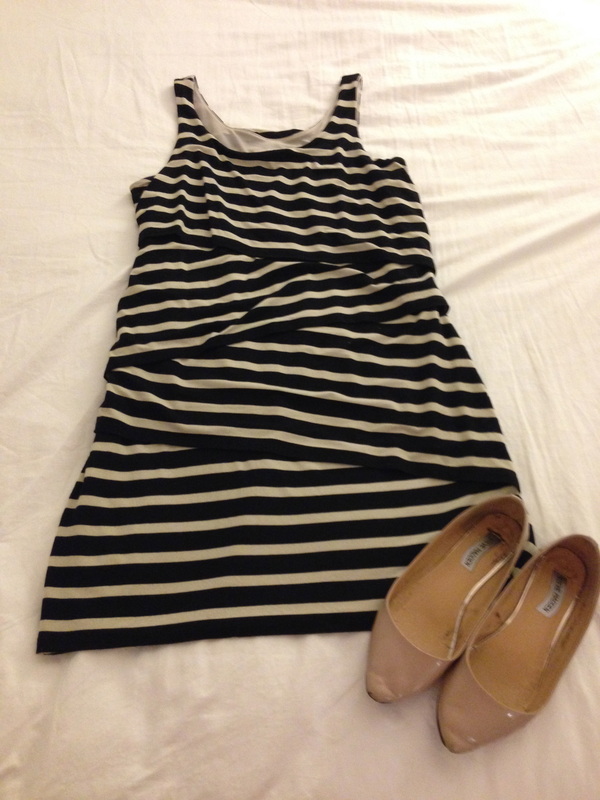
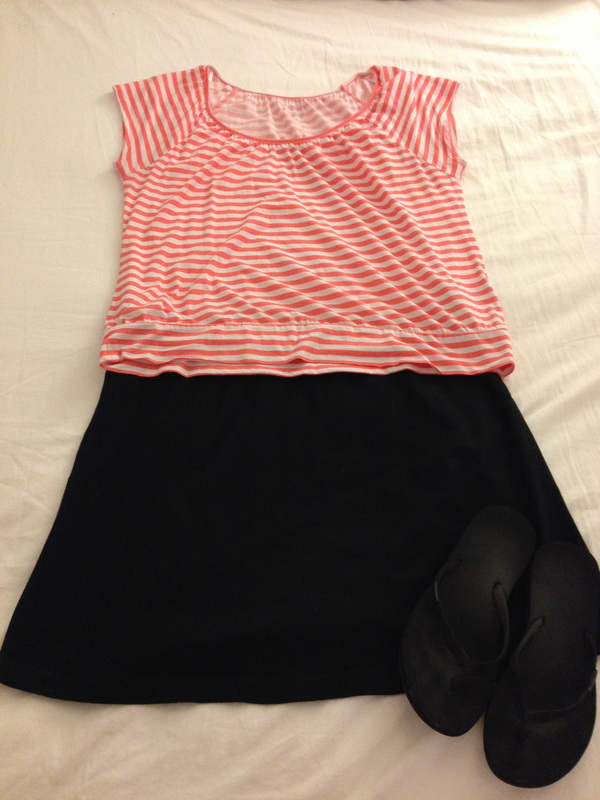
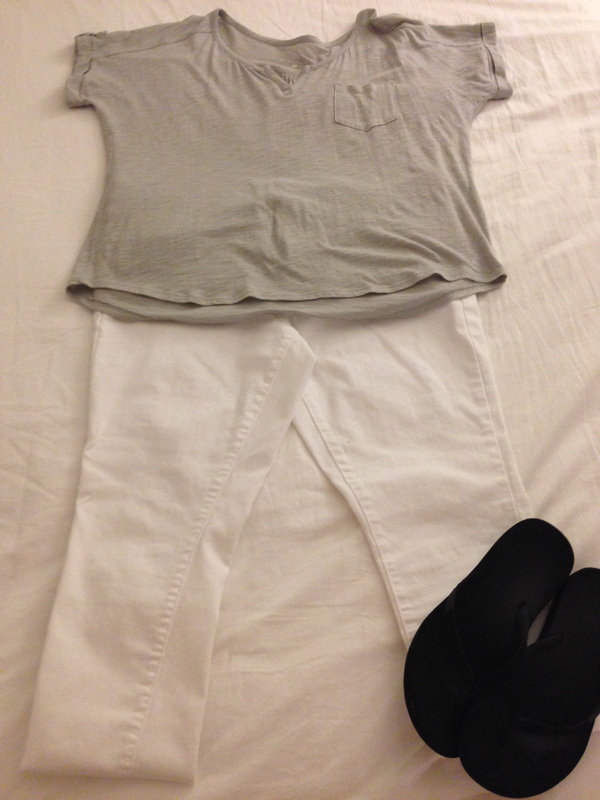
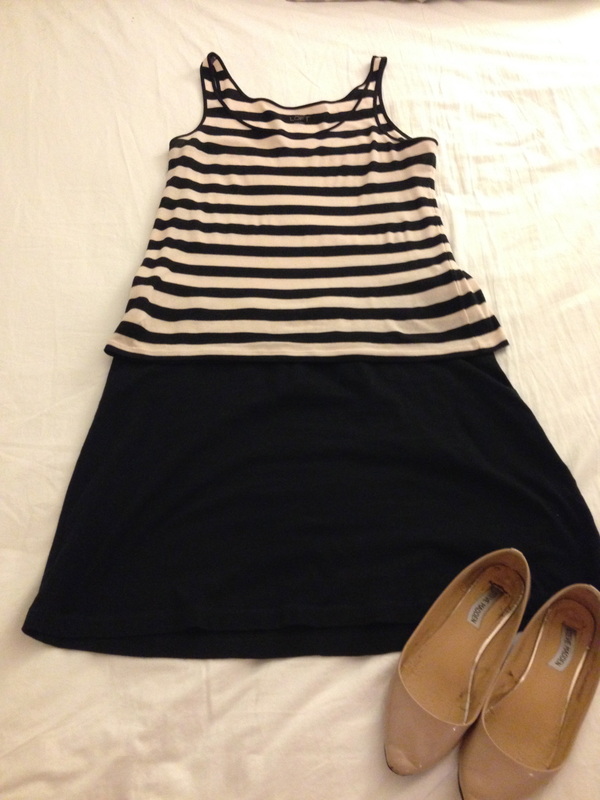
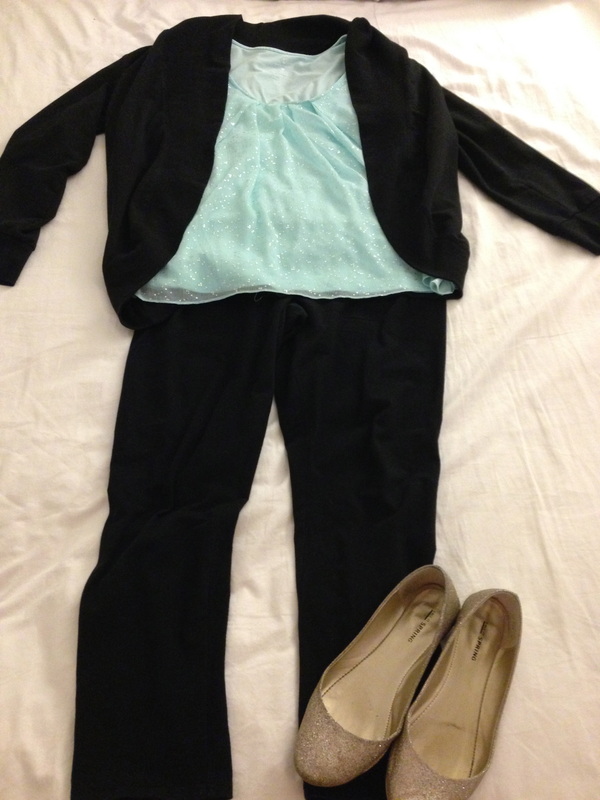
I found this cruise outfit guide on Pinterest and it motivated me to put together my own outfits for the cruise I'll be going on in a month. Here are the different outfits I'll be wearing on my 11-day trip: I've done this for past trips and usually something changes along the way and the outfits don't end up being exactly as planned. But at least I know I've got enough clothes to last me the full 11 days and I won't be forgetting anything!
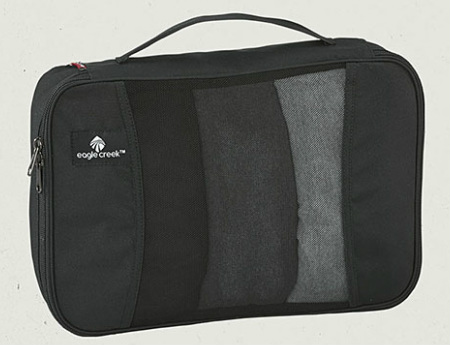
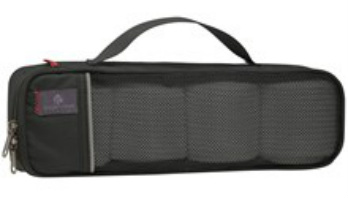
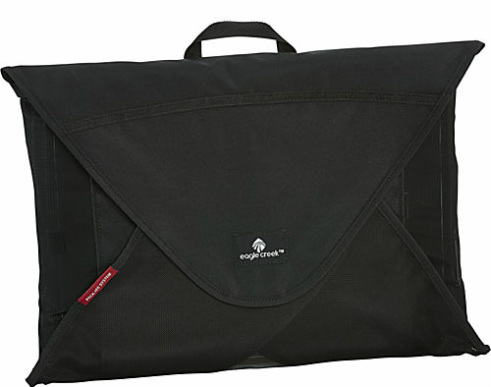
I may re-think the skirts on the at-sea days because I've heard it can get really windy on the ship's deck and I don't want to have to hold down my skirt all day long. I am also going to purchase some comfortable walking shoes to wear on our excursions, so the flats in the pictures will likely be swapped out for more appropriate walking shoes. Online it says we will have one formal dinner for our five-day cruise, so I'll at least bring the dress pictured above and will likely buy another one or two casual dresses that I can wear to dinners on the other nights in case I feel like being a little more dressy. I am a very organized person, so I was excited when I learned about Eagle Creek packing cubes. I originally heard about them on YouTube from Ingrid, whose channel is called missglamorazzi. Here is a link to her packing video in case you want to see the packing cubes in action. Like I mentioned in my last post, I'll be going on an 11-day trip in about a month, so I am in full-on planning mode. I already have a list put together of what I'm bringing along with a newer, bigger suitcase ready to be packed. Once I saw Ingrid's video, I knew that packing cubes were going to be super helpful. I went online to Amazon and got a few of them. Here's what I ordered: The garment folder is probably the coolest piece I ordered. Instead of describing how it works, here's a video where you can watch it in action. The size that I ordered holds up to seven items at a time. The reason I chose the smallest one is because it's almost the same size as the pack-it cube, so they'll stack nicely in my suitcase on top of one another. I plan on doing a full post of my packing process, so I'll share pictures with you of the packing cube, tube, and garment folder in action!
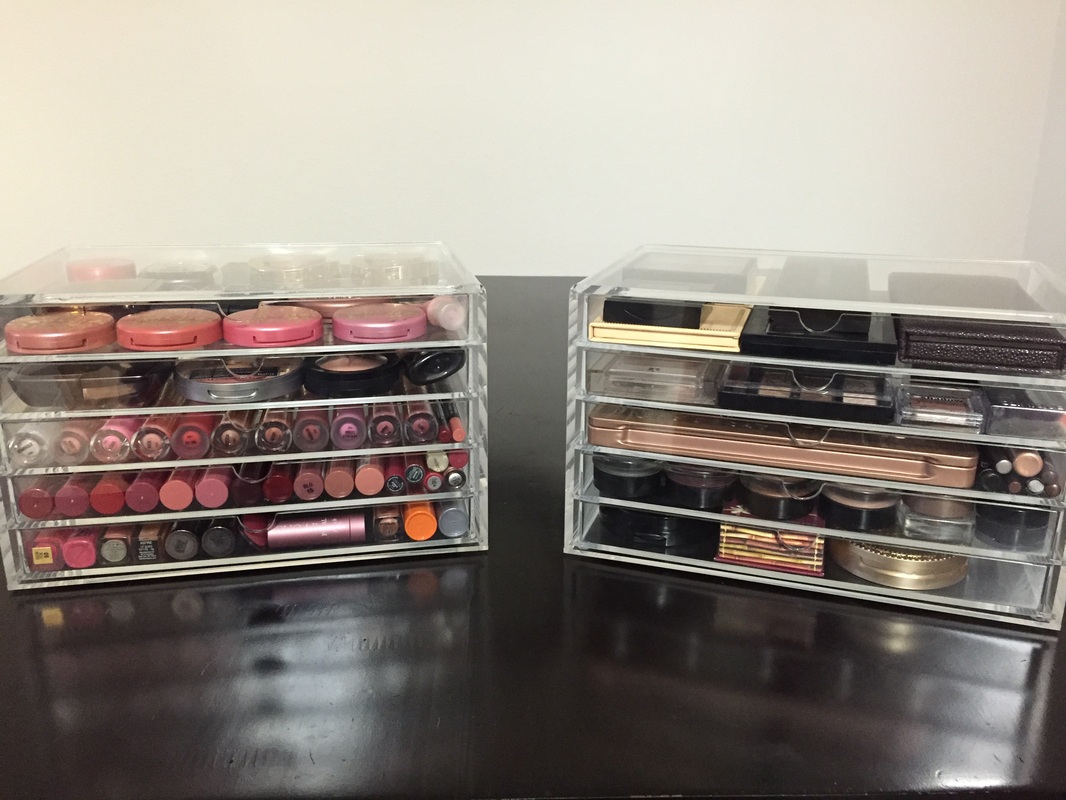
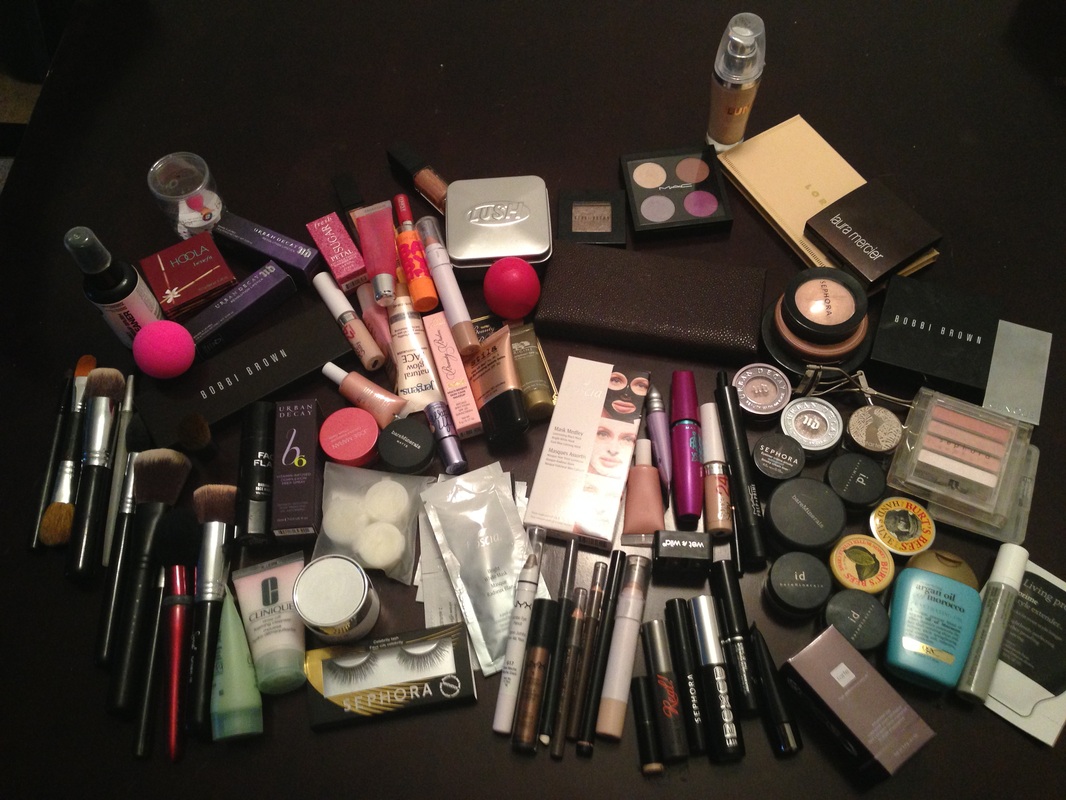
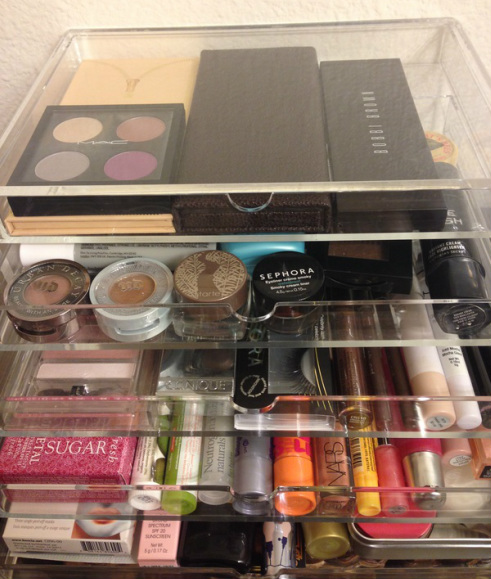
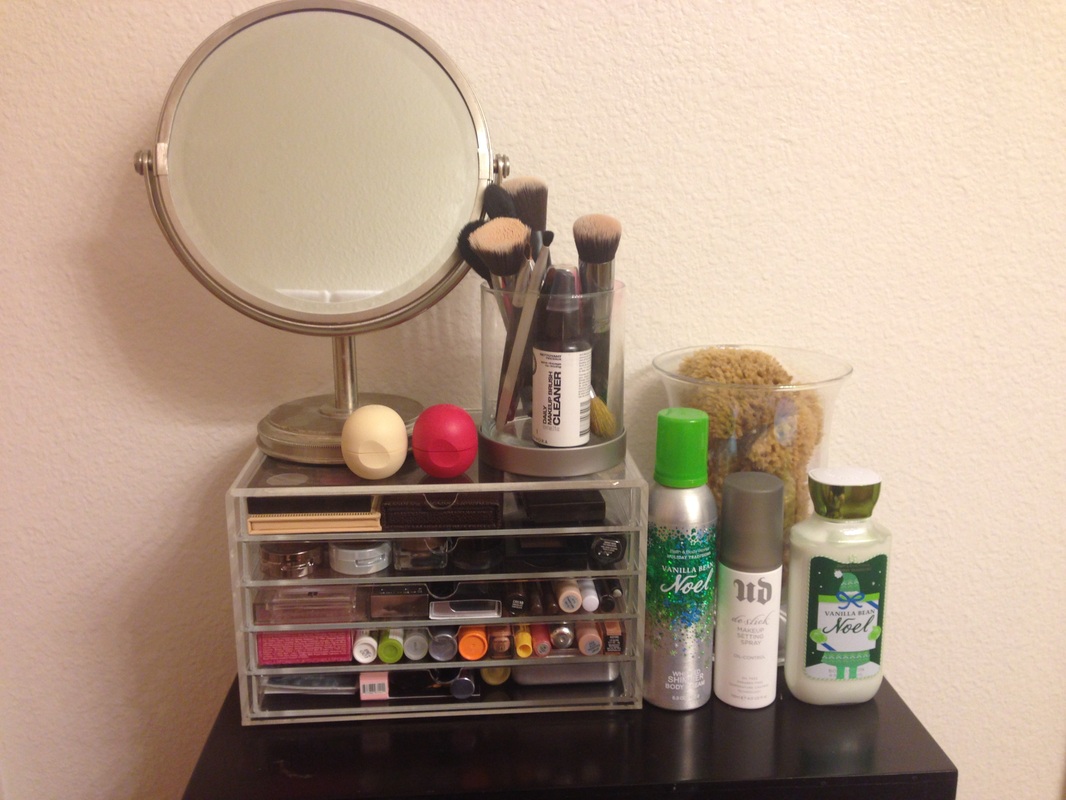
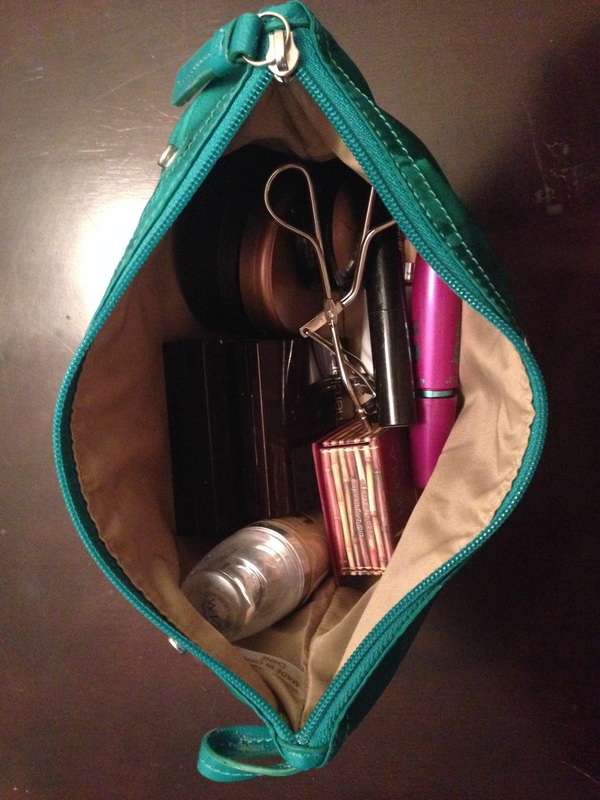
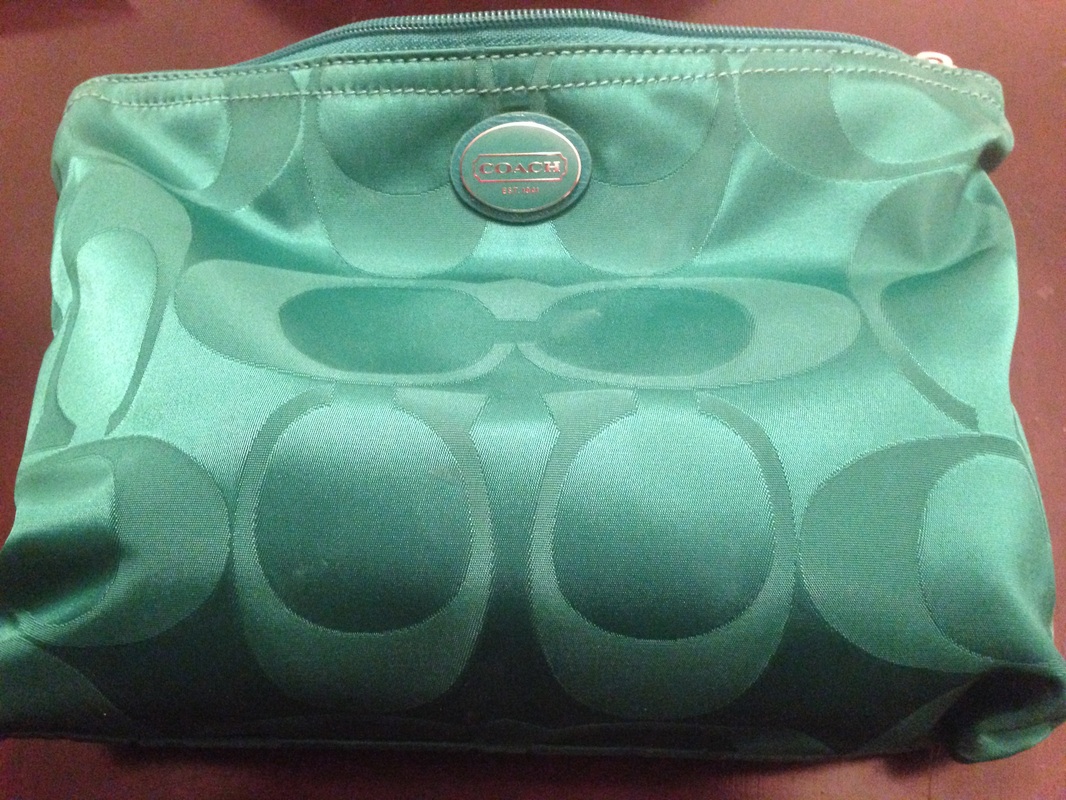
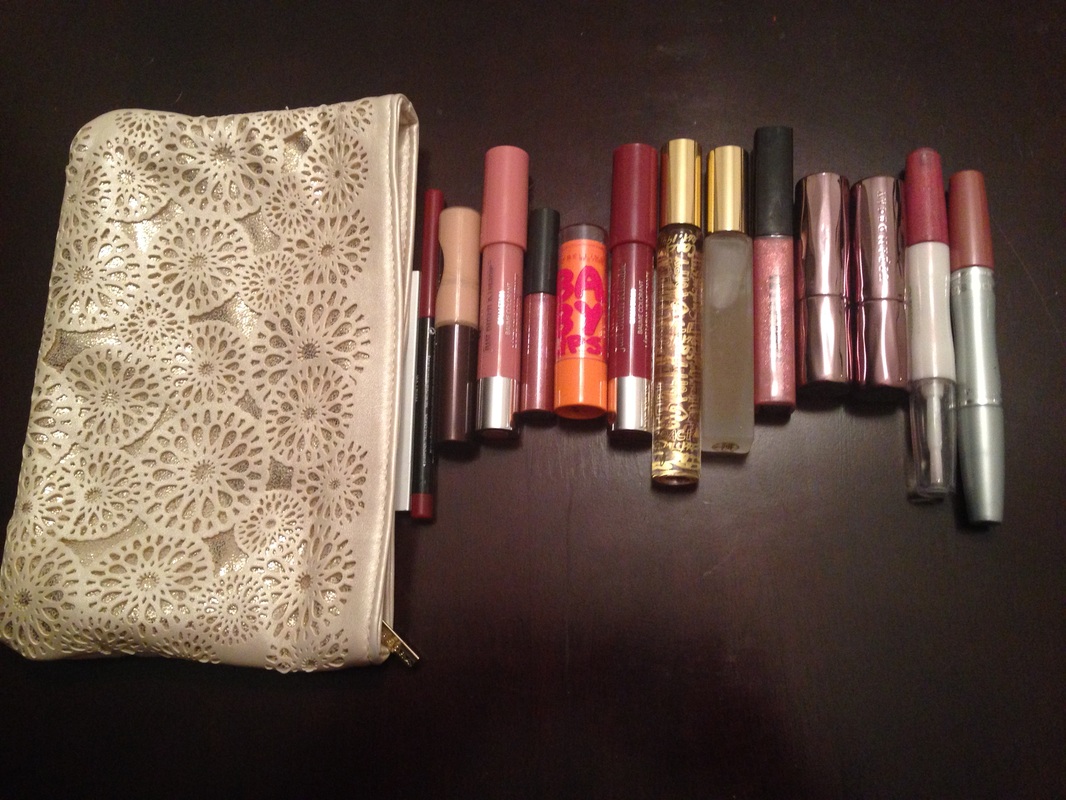
My new obsession with makeup has resulted in a huge increase in my makeup collection and I realized that I needed to get organized. I watched a lot of YouTube videos about the best ways to organize makeup and it seems that almost everyone has acrylic drawers by Muji. I ordered mine and they just got delivered today. Above is a before picture of my makeup collection (minus all of my lip products that live in my purse). Below is what this huge mess looked like once it was organized into the Muji drawers. And here's a look at my finished makeup organization: For good measure, here's a look at my makeup bag I use every day while getting ready. I found it at the Coach outlet in a weekender travel set. And lastly, here are all my lip products that I keep in my purse in the Sephora makeup bag I recently got that had a gift set of samples. I've also got a couple of rollerball perfumes in the bag in case I want to put on a scent during the day. I'm curious, what is your favorite way to organize your makeup collection? Please share in the comments!
|
AuthorMy name is Beth and I live in Denver. I am a single lady in my 30's and wanted to start sharing my awesome and amazing life through a blog. Categories
All
Archives
January 2018
|



 RSS Feed
